WPS Office2 Presentationとは?
WPS Office2 Presentation
WPS Office2はキングソフトが販売するオフィスソフトです。
そのWPS Office2にはプレゼンテーションソフトとしてWPS Office2 Presentationがあります。
主な機能は次の通りです。
- スライド作成、編集、保存
- テーマ、デザイン、アニメーション
- 表、グラフ、画像、動画挿入
- PDF変換
- 発表者ツール
WPS Office2 Presentationは、PowerPointとの互換性が高いのが特徴として挙げられます。
Microsoft PowerPointのファイル形式である「.pptx」や「.ppt」を開いたり、編集したり、保存することができます。PowerPointで作成した資料をWPS Office2 Presentationで編集して、PowerPoint形式で保存したりすることもできます。
中国製ソフトだけど平気なの?
WPS Office2は中国製ということで、情報漏洩などのセキュリティリスクを懸念する声が一部あります。しかし、現時点では具体的な被害報告は確認されていません。
WPS Office2 Spreadsheetsを開発する金山軟件有限公司は、日本法人のキングソフト株式会社を設立し、日本国内にサポートセンターを設け日本語のサポートを行っています。また情報セキュリティ対策に力を入れており、以下の対策を実施しています。
- ISO/IEC 27001:2013 情報セキュリティマネジメントシステム(ISMS)認証を取得
- 定期的な脆弱性診断と修正プログラムの提供
- 情報セキュリティに関する社内教育の実施
- PDF変換
- 日本国内にサポートセンターを設置
その辺を見ると、WPS Office2 Presentationsは、PowerPointとの高い互換性を持つプレゼンテーションソフトであり、セキュリティリスクの懸念が一部に人々が言っていますが、具体的な被害報告はなく、キングソフトがセキュリティ対策に注力しているソフトであることが分かります。
またWPS Office2 Presentationを含むWPS Officeは、Microsoft Storeでダウンロードできるソフトであり、それを考えれば、パソコン初心者でも安心して利用できるソフトといっていいでしょう。
※それに異論のある方は、LibreOffice Impressなどを使用すればいいでしょう。
しかし、PowerPointと比べて、使い方の情報が少ないため、WPS Office2 Presentationの使い方がわからないという方も多いのではないでしょうか。
そこで今回のブログ記事では、WPS Office2 Presentationの基本的な使い方を、画像を交えて解説します。このブログ記事を読めば、WPS Office2 Presentationの基本的な使い方が覚えられます。


WPS Office2 Presentationの基本的な使い方! PowerPoint不要
スライドのサイズと方向(縦・横)の変更
スライドのサイズと方向(縦・横)の変更は、デザインタブから行います。
1.スライドのサイズの変更
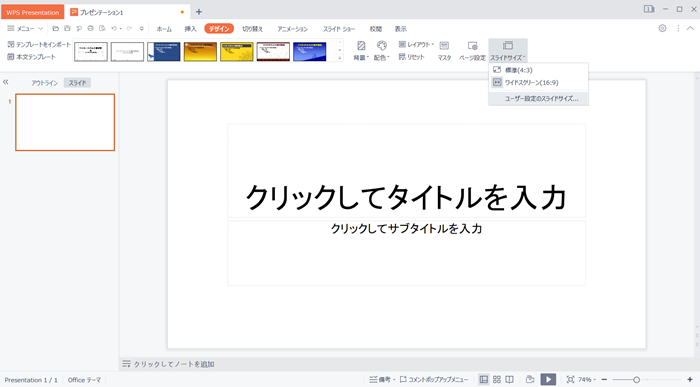
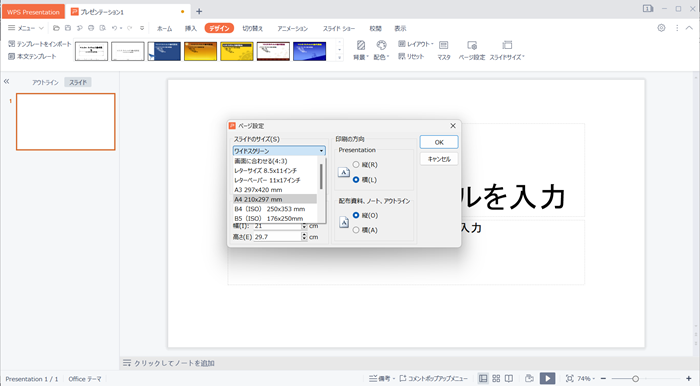
デザインタブを選択し、スライドサイズをクリックします。
すると以下の候補が現れます。
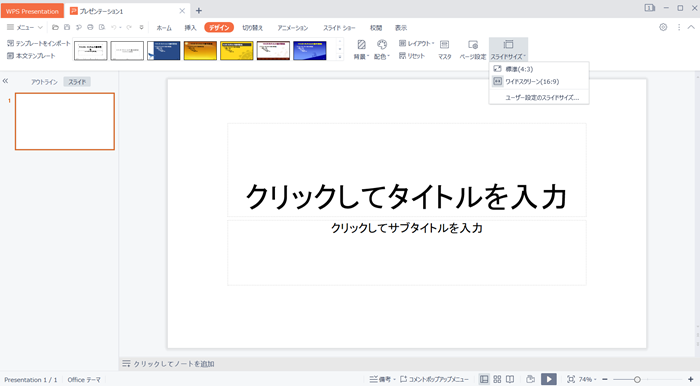
標準にしたい場合は、標準(4:3)を選択します。
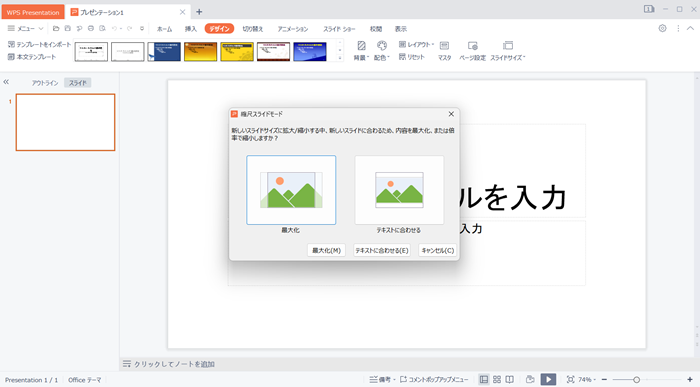
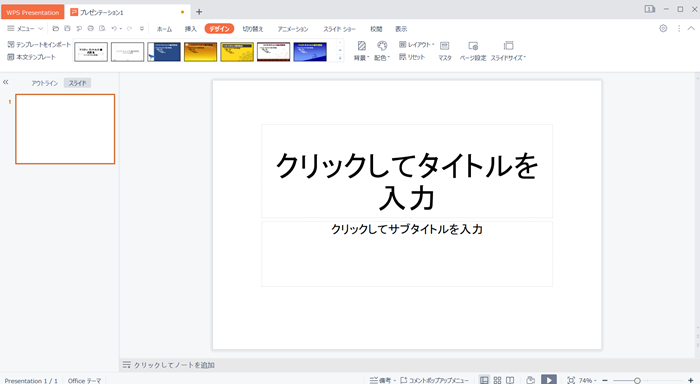
すると以下の画面が現れるので、お好きなものを選びます(今回は「最大化」にしました)。
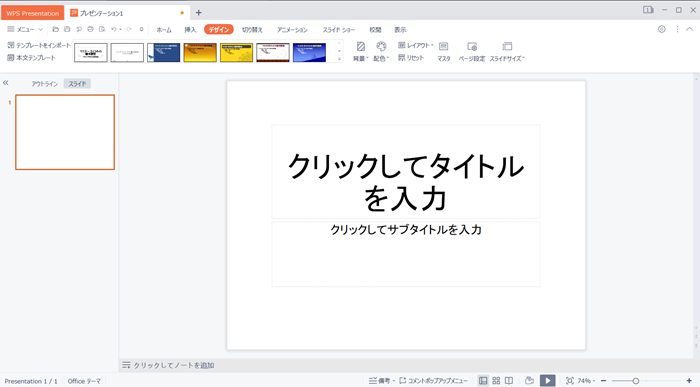
以下が標準にしたものです。
ワイドスクリーンにしたい場合は、ワイドスクリーン(16:9)を選択します。
すると以下の画面が現れるので、お好きなものを選びます(今回は「最大化」にしました)。
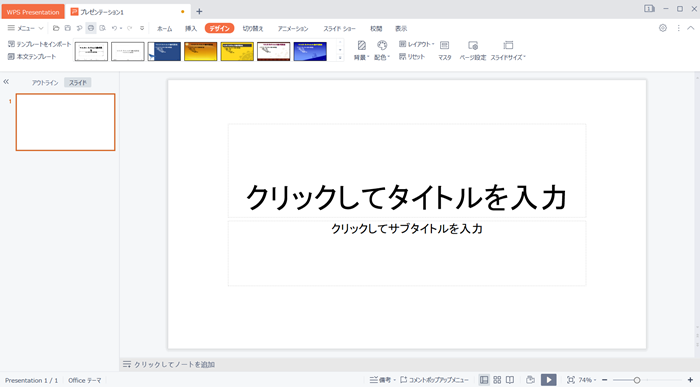
以下がワイドスクリーンにしたものです。
プレゼン資料を印刷したい場合は、A4サイズが一般的なので、これを選ぶといいと思います。
その方法ですが、スライドサイズをクリックします。
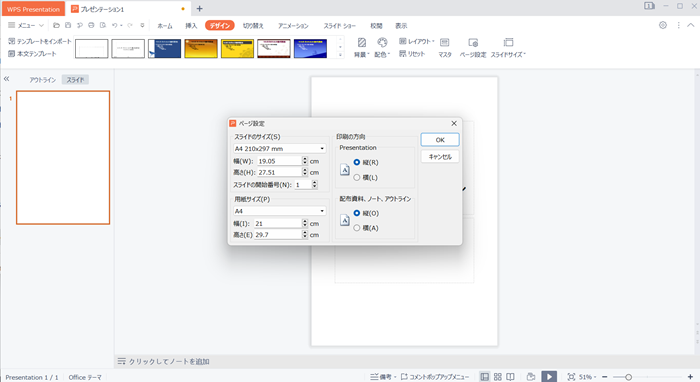
候補は現れるので、ユーザー設定のスライドサイズを選択します。
スライドサイズの下をクリックすると、候補が現れるので、A4を選択し、OKボタンをクリックします。
すると以下の画面が現れるので、お好きなものを選びます(今回は「最大化」にしました)。
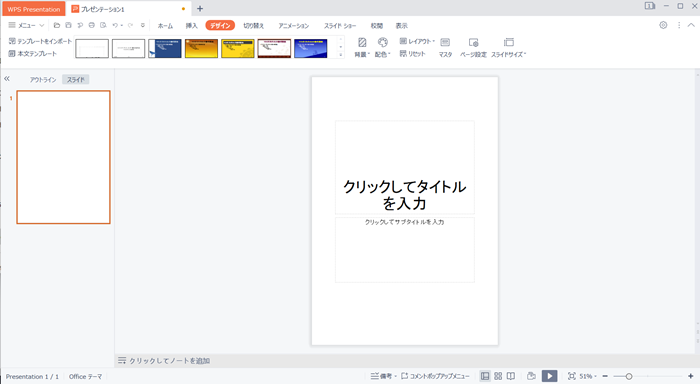
するとスライドのサイズがA4サイズになります。
以下がA4サイズにしたものです。
2.スライドの方向の変更
その方法ですが、スライドサイズをクリックします。
候補は現れるので、ユーザー設定のスライドサイズを選択します。
印刷の方向のPresentationの下にある項目から縦を選択しOKボタンをクリックします。
すると以下の画面が現れるので、お好きなものを選びます(今回は「最大化」にしました)。
そうするとスライドの方向が縦になります。
テキストの挿入
ここではスライドサイズを一般的にプレゼンテーション資料として使われる画面 16:9にします。
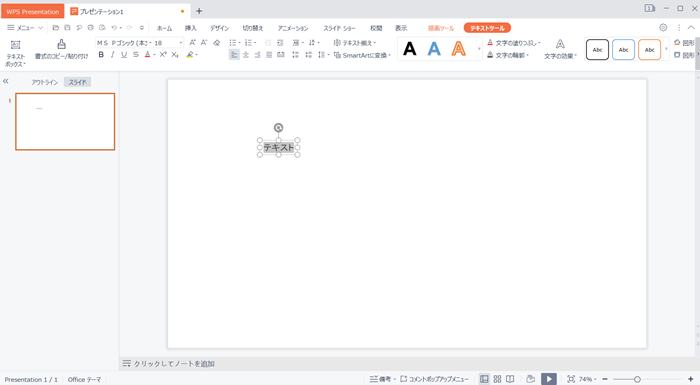
テキストの挿入ですが、挿入タブを選択し、テキストボックスの挿入のアイコンをクリックします。
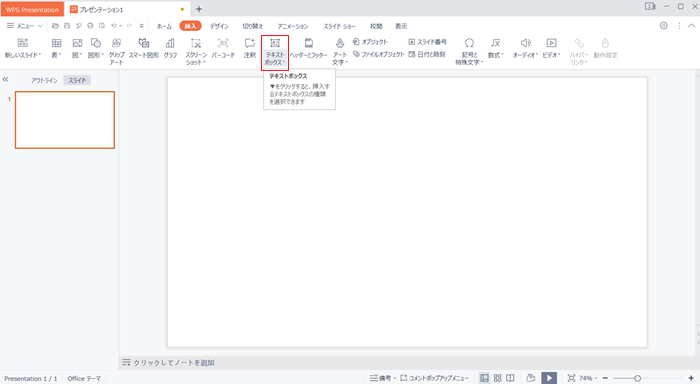
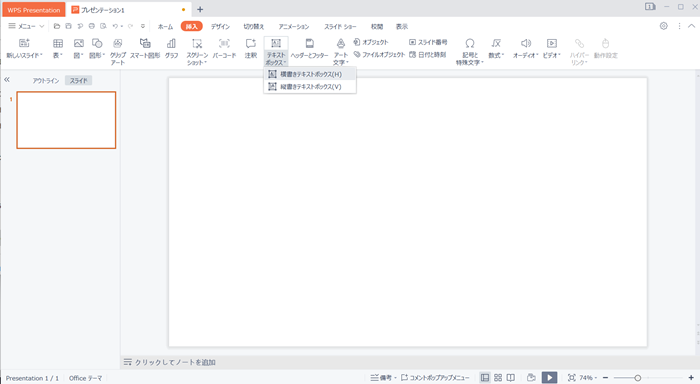
すると、横書きテキストボックス、縦書きテキストボックスの項目が現れるので、お好きなものを選択します。
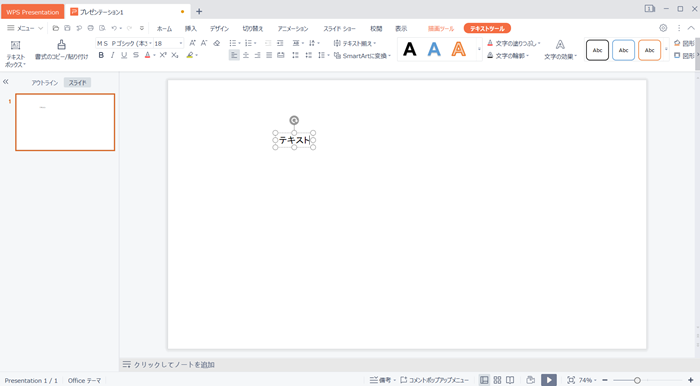
そして、スライドのお好きな部分をクリックすると、テキストボックスが現れるので、テキストを入力します。
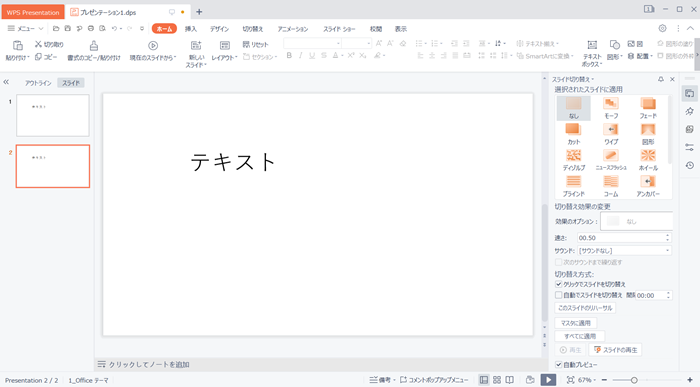
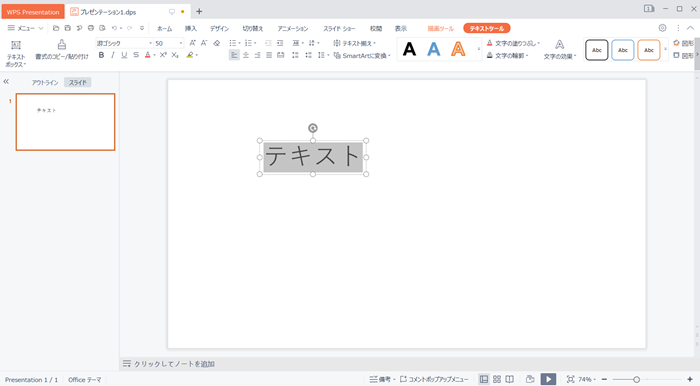
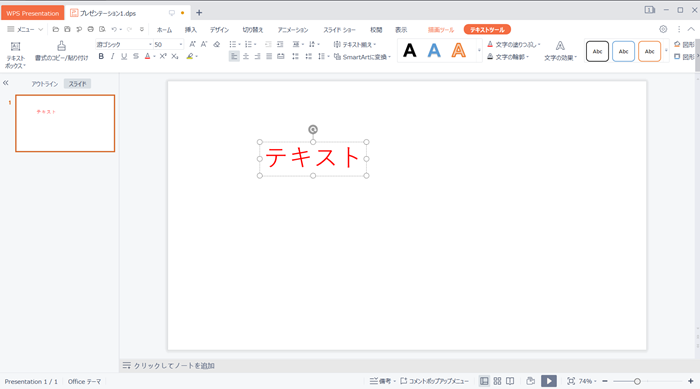
以下が横書きテキストボックスにテキストを入力した例です。
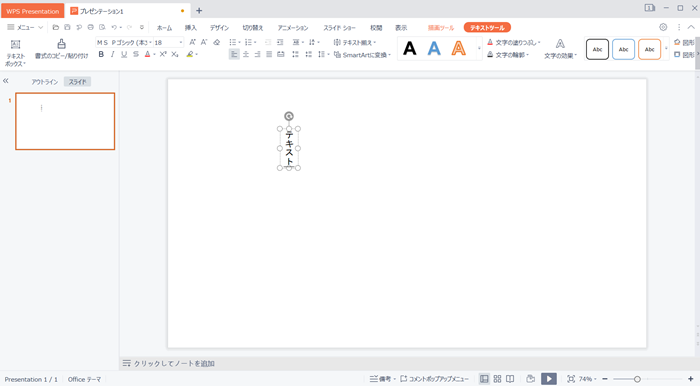
以下が縦書きテキストボックスにテキストを入力した例です。
フォントの変更
フォントの変更ですが、最初にテキストボックスの文字を全て選択します。
フォント名が表示されている項目の▼をクリックします。
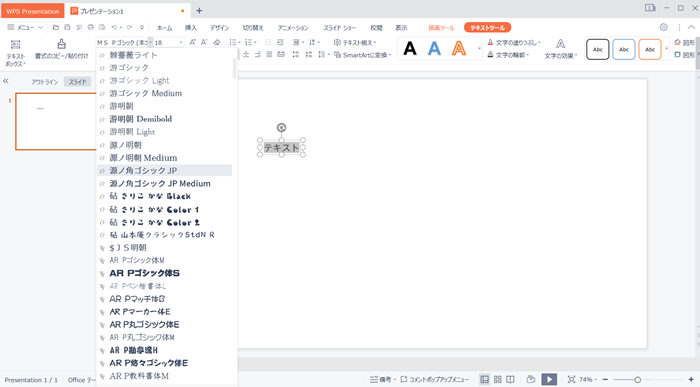
するとフォントの候補が現れます。
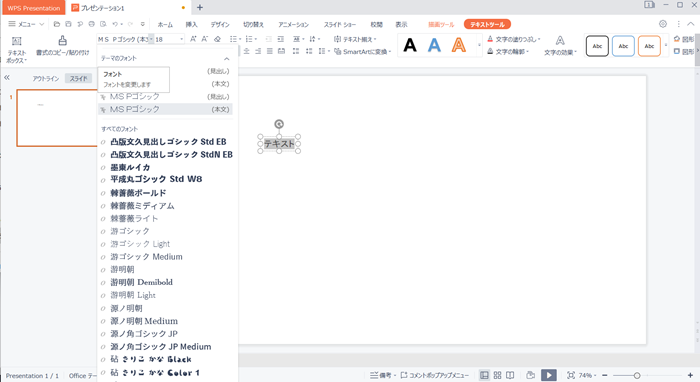
候補からお好きなフォントを選びます。
するとフォントが変更されます。
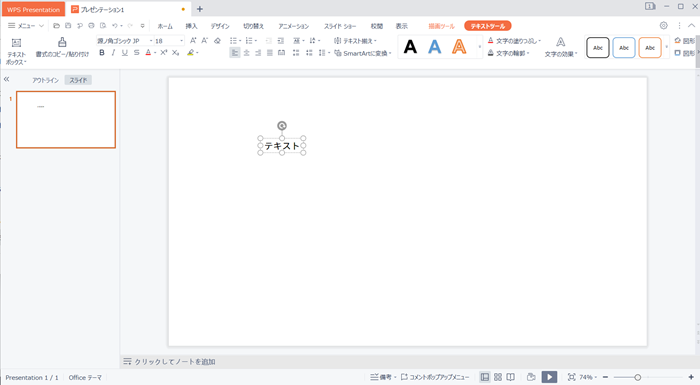
▲源ノ角ゴシック JPを選択した結果です。
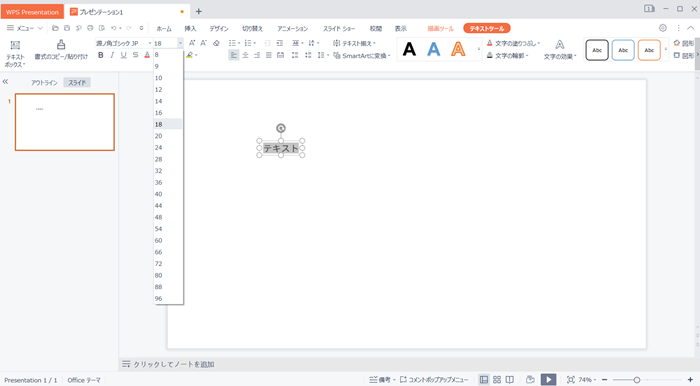
フォントサイスの変更
テキストボックスの文字をすべて選択します。
18ptと表示されている項目の▼をクリックします。
すると候補が現れます。
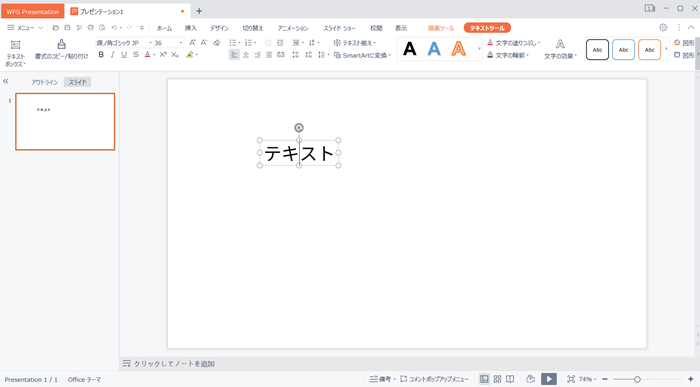
お好きなサイズを選択します(ここでは36ptにしました)
フォントサイズが変更されます。
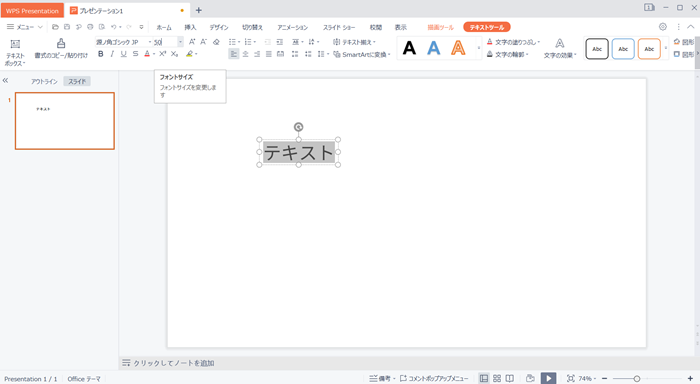
なお、候補にないサイズにしたい場合は、手入力でptの数字を入力します(ここでは50と入力しました)。
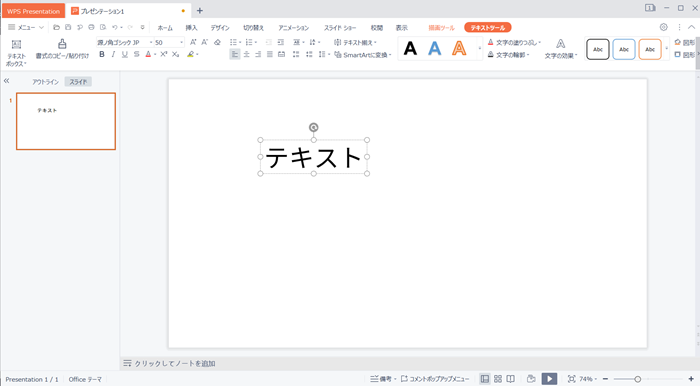
フォントサイズが候補にないサイズになります。
文字をボルトやイタリックに変更
テキストボックスを選択します(ここではボルトとイタリックに変更されたことが分かりやすくするために、游ゴシックにフォントを変更しました)。
ボルト(太字)の場合は、フォント名が表示されている項目の下のBを、イタリック(斜め文字)の場合は、Iをクリックします。
すると文字がボルト、イタリックに変更されます。
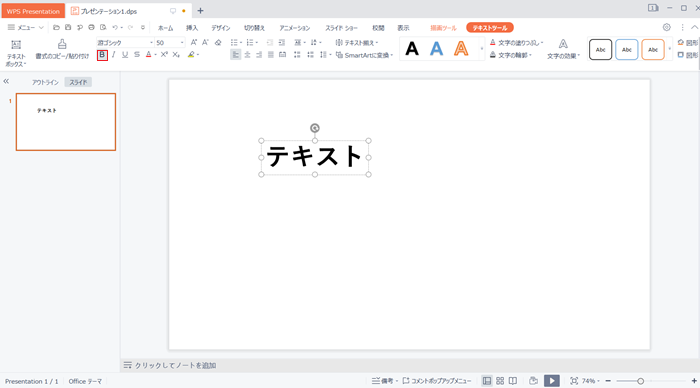
▲ボルトにした例です。
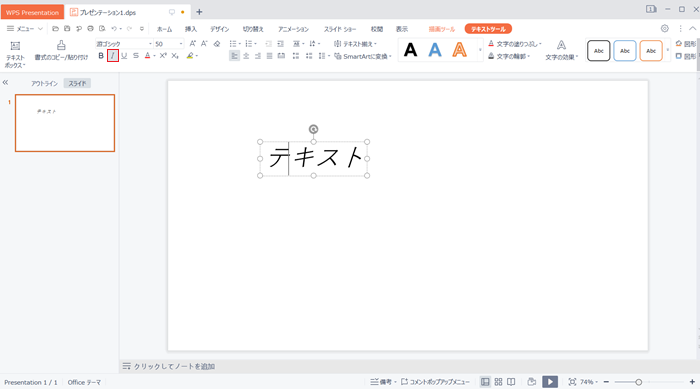
▲イタリックにした例です。
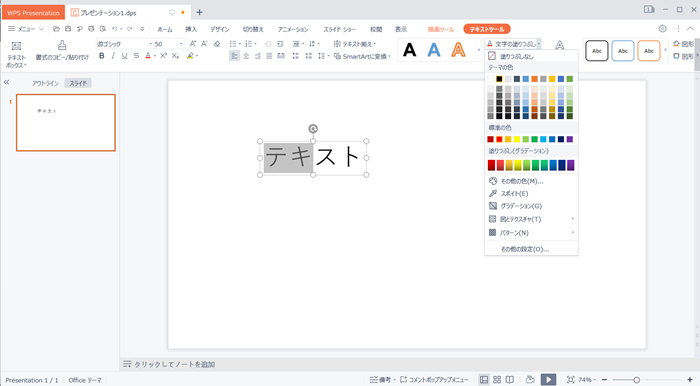
文字の色の変更
テキストボックスを選択します。
文字の塗りつぶしの▼をすると、候補が現れます。
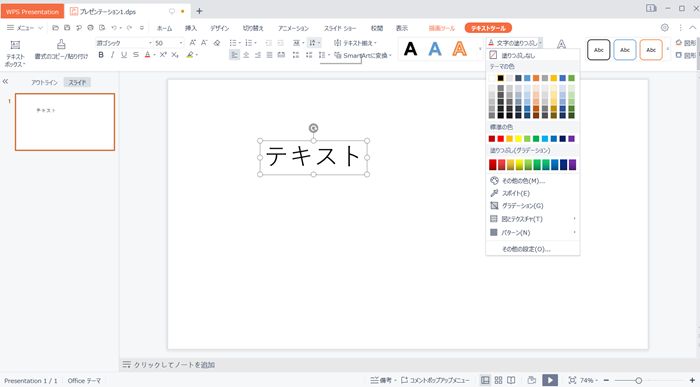
お好きなものを選ぶと、文字の色が変更されます。
文字の一部だけの色を変更することも可能です。
変更したい文字を選択し、フォントの色のアイコンをクリックし、お好きな色を選択します。
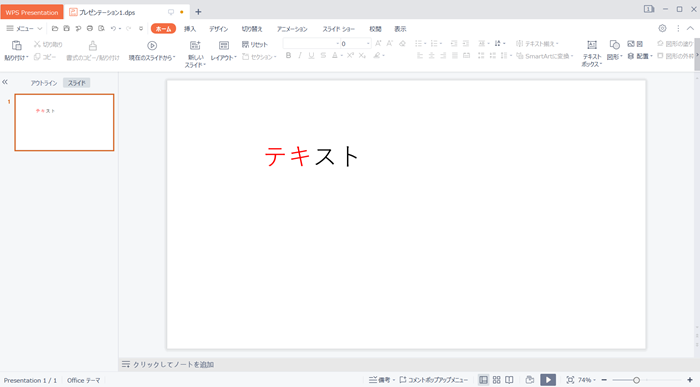
これで一部の文字の色が変更されます。
新しいスライドの挿入
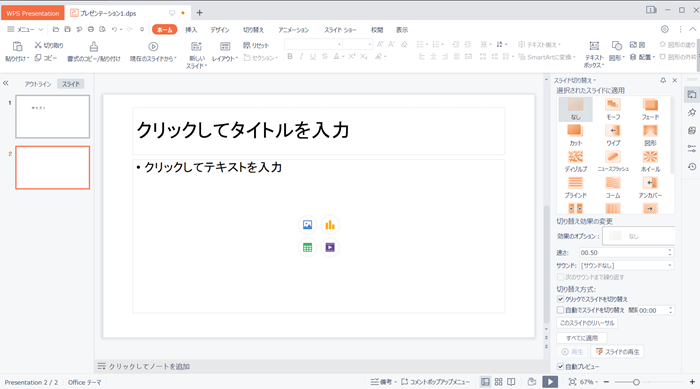
左側のスライドパネルで新しいスライドを挿入することが出来ます。
スライドパネルを右クリックして、新しいスライドを選択します。
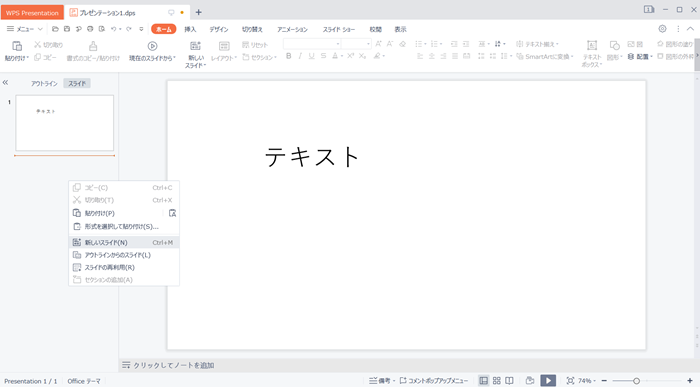
すると新しいスライドが挿入されます。
スライドの削除
左側のスライドパネルでスライドを削除することが出来ます。
スライドパネルを右クリックして、スライドの削除を選択します。
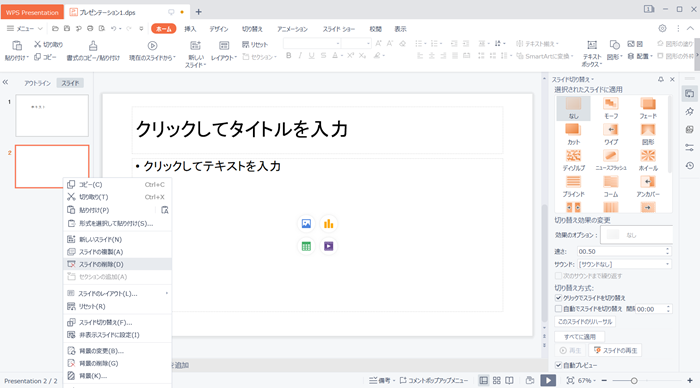
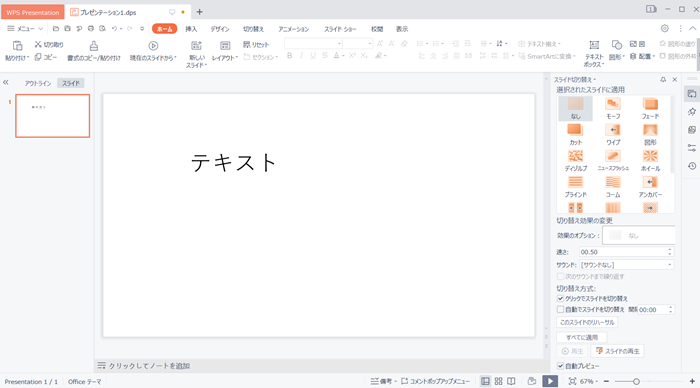
スライドが削除されます。
スライドの複製
スライドパネルを右クリックして、スライドの複製を選択します。
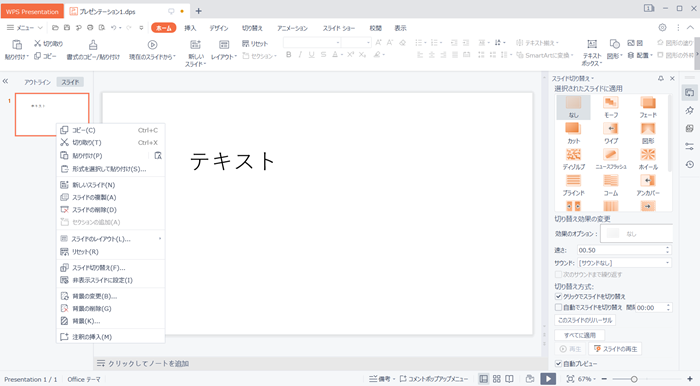
スライドが複製されます。