libreoffice Impressとは?
多くの人がプレゼンテーション資料の作成にMicrosoft PowerPointを利用していますが、有料ソフトのため利用できない方もいらっしゃいます。そんな方におすすめなのが、Windows、Mac、Linux、Chromebookで無料で使用できるオープンソースオフィスソフトLibreOfficeのプレゼンテーションソフトであるLibreOffice Impressです。
LibreOffice Impressとは、LibreOfficeに含まれるプレゼンテーションソフトです。箇条書きや表、グラフ、画像などを挿入し、アニメーション効果などを加えることで、わかりやすく魅力的なプレゼンテーション資料を作成することができます。
また、LibreOffice Impressは、PowerPointと互換性があるため、PowerPointで作成した資料を開いたり、編集したりすることもできます。
しかし、PowerPointと比べて、使い方の情報が少ないため、LibreOffice Impressの使い方がわからないという方も多いのではないでしょうか。
そこで今回のブログ記事では、LibreOffice Impressの基本的な使い方を、画像を交えて解説します。このブログ記事を読めば、LibreOffice Impressの基本的な使い方が覚えられます。
なお今回は、以下のChromebookを使用します。
富士通という日本を代表するパソコンメーカーが作った、数少ない日本製のChromebookです。CPUはintel Core i3で、8GB のメモリ、128GB の SSDというスペックです。日本語キーボードが非情に使いやすいというのが特徴です。
LibreOffice Impressを含めたlibreofficeは、ChromebookのIntelのCPU及びARM版の両方のローカルにインストールができるので、Chromebookのオススメのオフィスソフトになっています。
LibreOffice Impressへのインストール方法は以下のブログ記事に載せていますので、興味のある方は御覧ください。

なお、今回ChromebookでLibreOffice Impressを使っていますが、Windows版でも、Mac版でも、Linux版でも、全く同じ方法で作業が出来ますので、ご安心ください。


libreoffice Impress 基本的な使い方
【スライドのサイズと方向の変更】
スライドのサイズと方向(縦・横)の変更は、プロパティから行います。
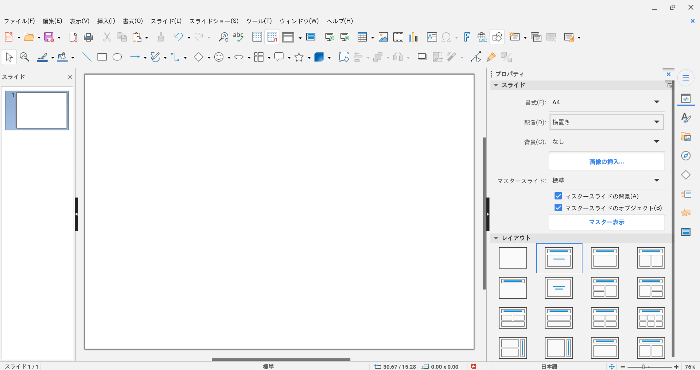
1.スライドのサイズの変更
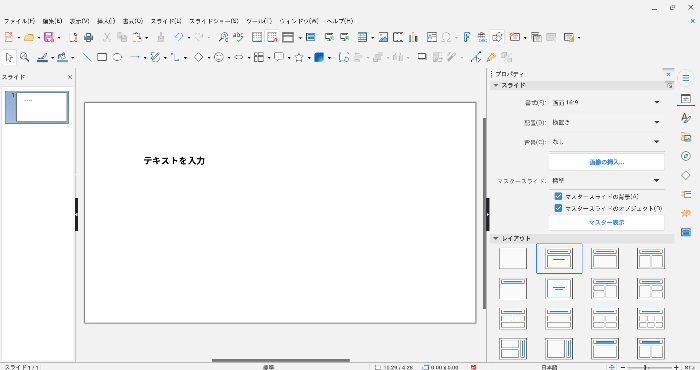
プロパティのスライドの書式の▼をクリックします。
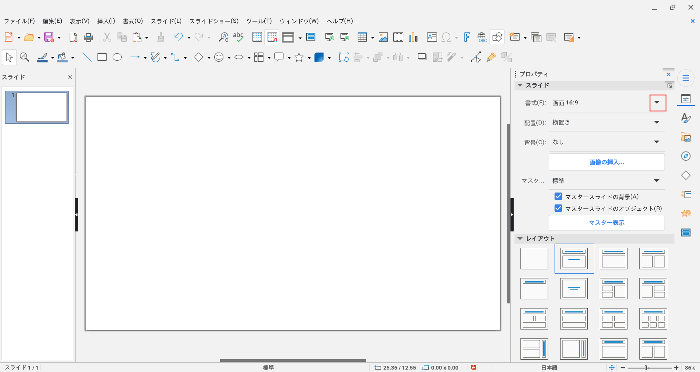
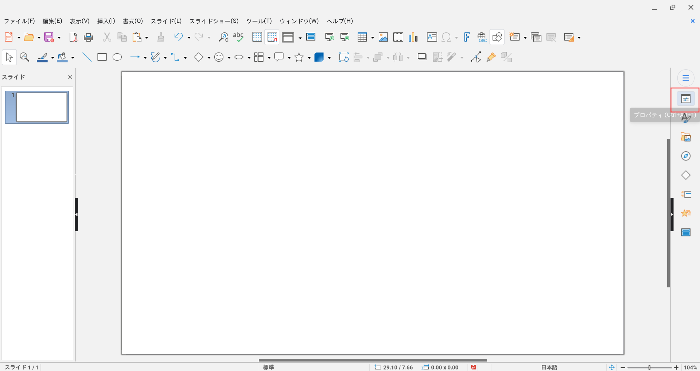
▲プロパティが表示されていない場合は、左側のプロパティボタンを押してください。
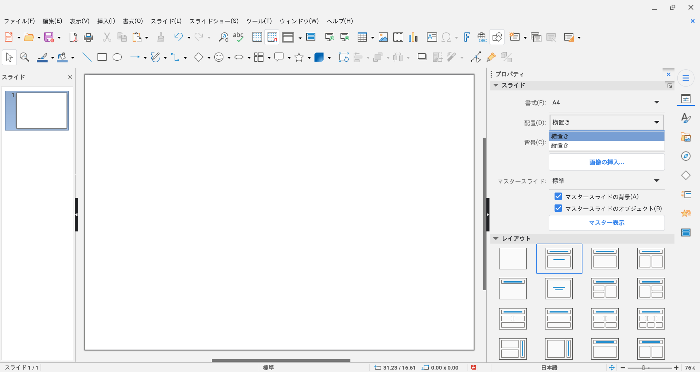
すると候補が現れます。
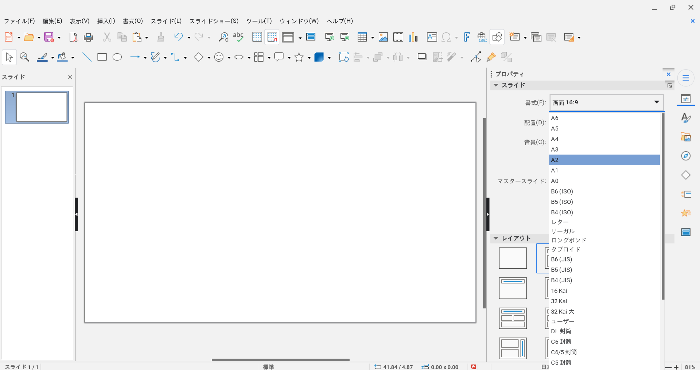
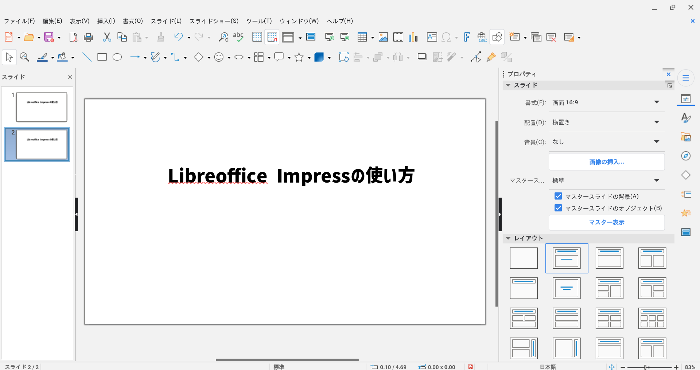
プレゼンテーションを行うだけなら、画面 16:9、画面 4:3が一般的なので、この2つから選ぶと思います。
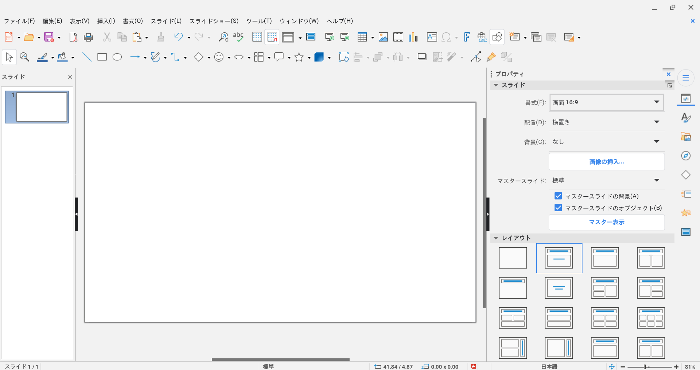
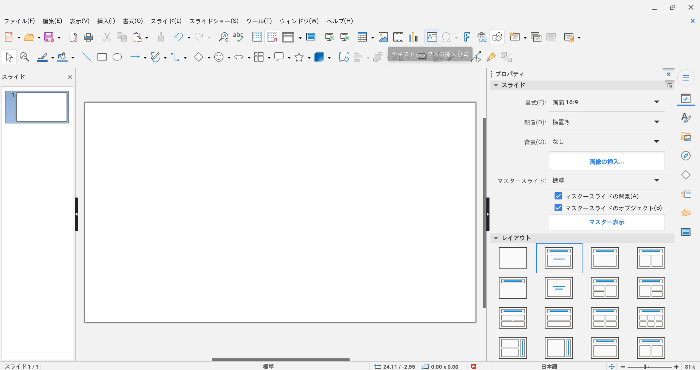
▲画面 16:9に設定したスライドです。
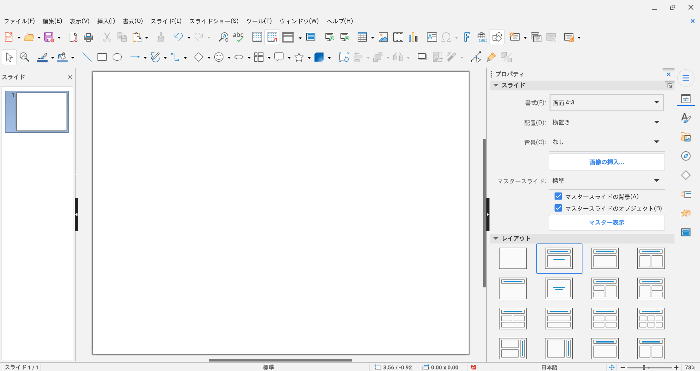
▲画面 4:3に設定したスライドです。
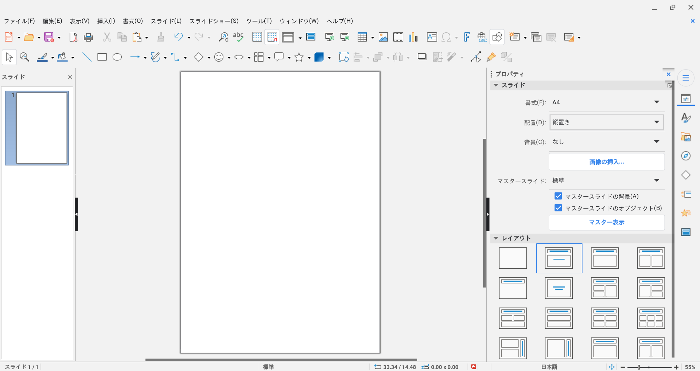
プレゼン資料を印刷したい場合は、A4サイズが一般的なので、これを選ぶといいと思います。
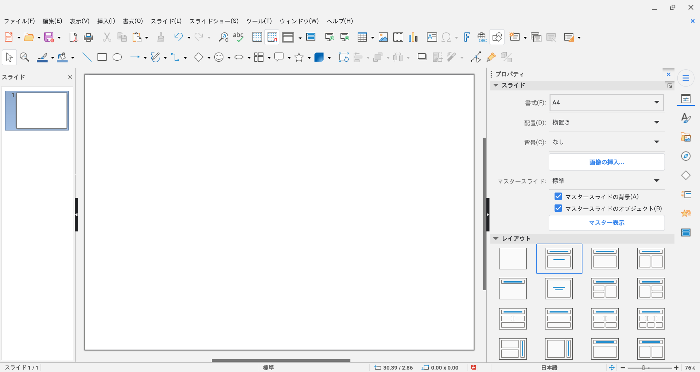
▲A4サイズに設定したスライドです。
2.スライドの方向の変更
プロパティのスライドの配置の▼をクリックします。
候補に横置きと縦置きが現れます。
デフォルトがスライドの方向は横(横置き)になっていますので、スライドの方向を縦にするバイアイは候補から縦置きを選択します。
すると以下のようにスライドの方向が縦になります。
▲おそらくスライドの方向を縦にする場合は、プレゼン資料以外の…例えばチラシ作成などに使うと思うので、ここではサイズはイパン的な印刷用紙のA4サイズにしました。
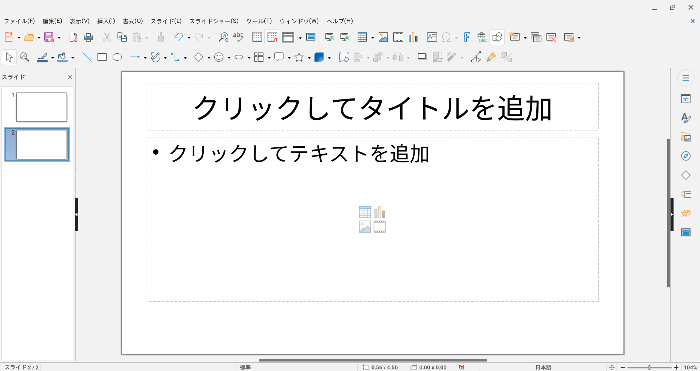
【テキストの挿入】
ここではスライドサイズを一般的にプレゼンテーション資料として使われる画面 16:9にします。
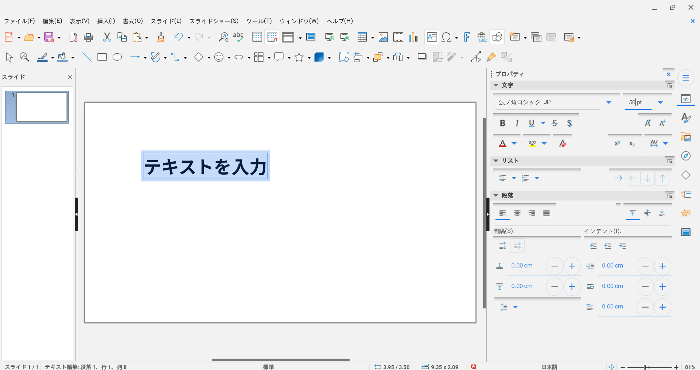
テキストの挿入ですが、テキストボックスの挿入のアイコンをクリックします。
スライドの好きな場所をクリックします。
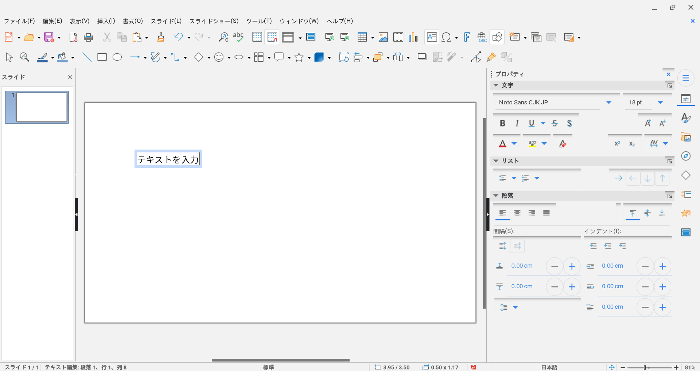
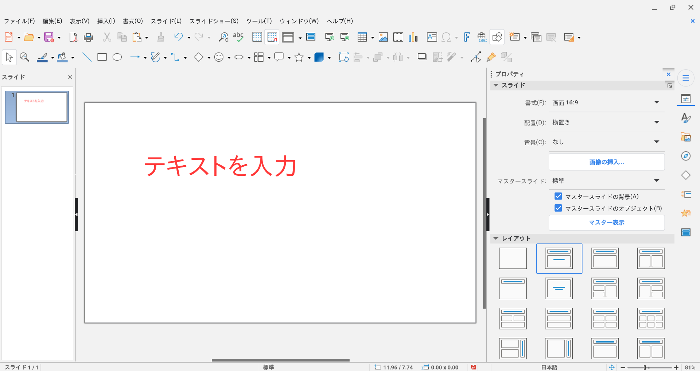
するとテキストボックスが挿入されます。
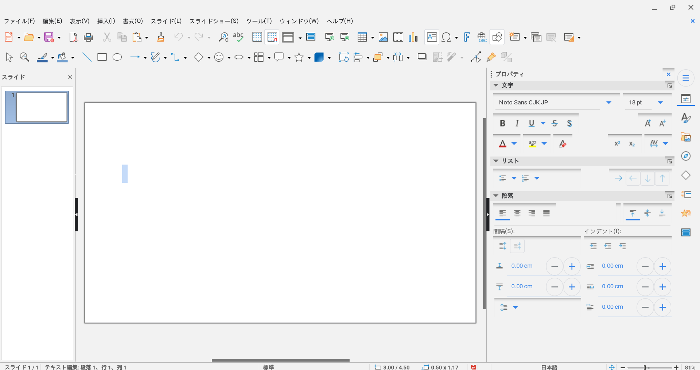
あとは文字を入力するだけです。
【フォントの変更】
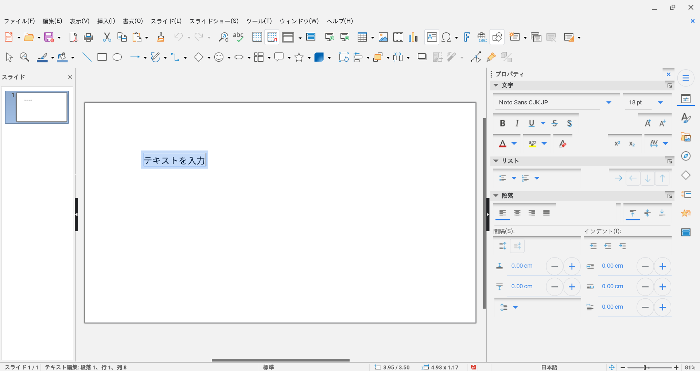
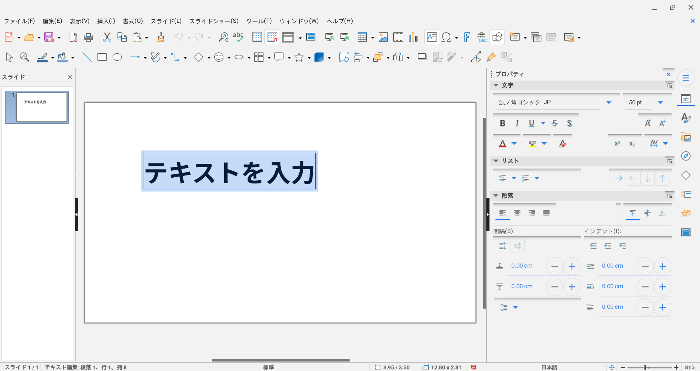
フォントの変更ですが、最初にテキストボックスの文字を全て選択します。
プロパティの文字からフォント名が表示されている項目の▼をクリックします。
するとフォントの候補が現れます。
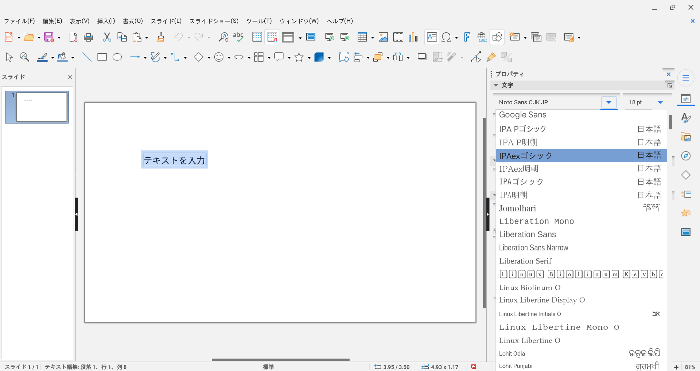
候補からお好きなフォントを選びます。
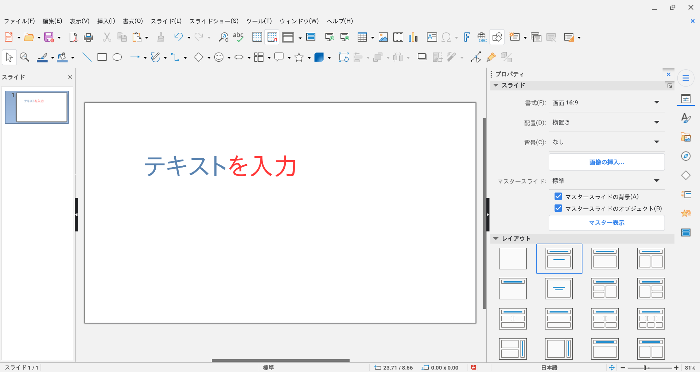
するとフォントが変更されます。
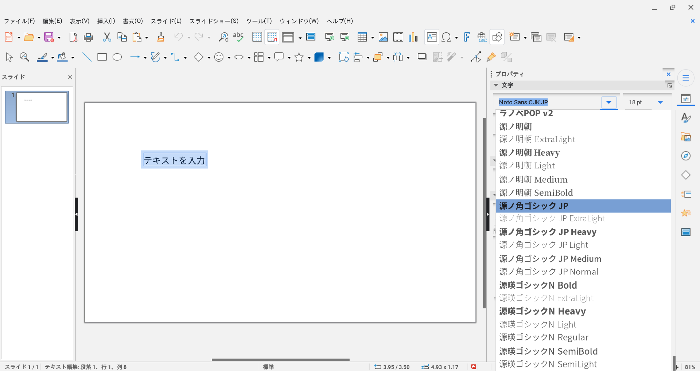
▲源ノ角ゴシック JPを選択した結果です。
【フォントサイスの変更】
テキストボックスの文字をすべて選択します。
18ptと表示されている項目の▼をクリックします。
すると候補が現れます。
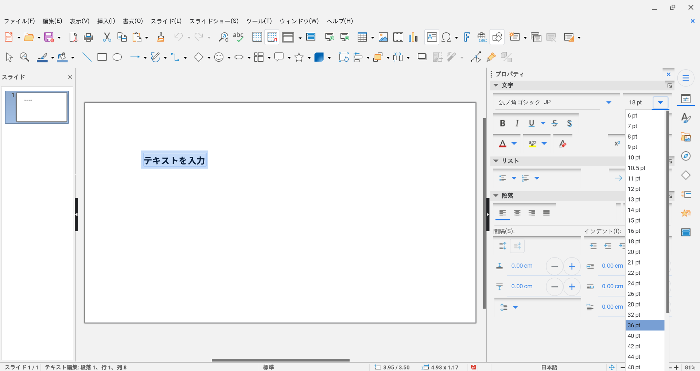
お好きなサイズを選択します(ここでは36ptにしました)
フォントサイズが変更されます。
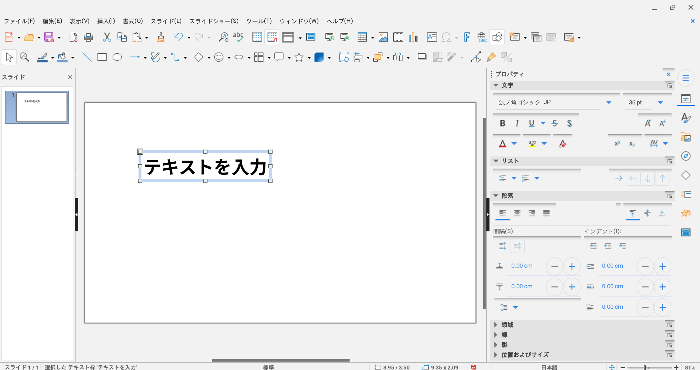
なお、候補にないサイズにしたい場合は、手入力でptの数字を入力します(ここでは50と入力しました)。
フォントサイズが候補にないサイズになります。
【文字をボルトやイタリックに変更】
テキストボックスの文字を全て選択します(ここではボルトとイタリックに変更されたことが分かりやすくするために、IPA Pゴシックにフォントを変更しました)。
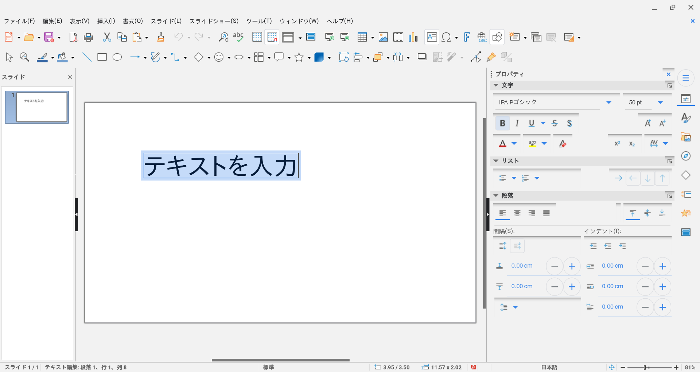
ボルト(太字)の場合は、プロパティのBを、イタリック(斜め文字)の場合は、Iをクリックします。
すると文字がボルト、イタリックに変更されます。

▲ボルトにした例です。

▲イタリックにした例です。
【文字の色の変更】
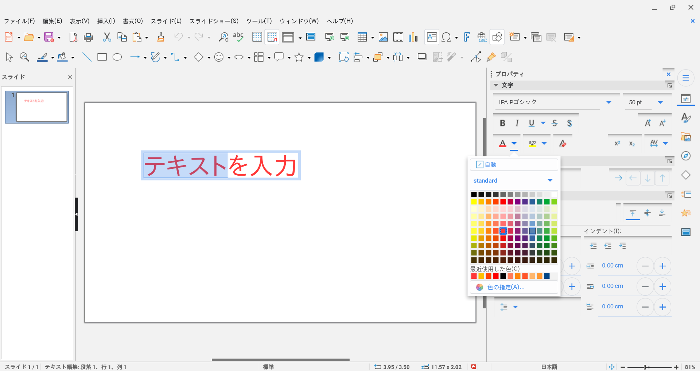
テキストボックスの文字を全て選択します。
フォントの色のアイコンをクリックすると、候補が現れます。
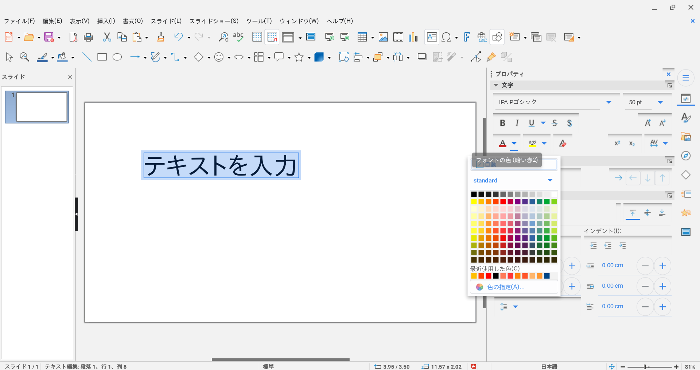
お好きなものを選ぶと、フォントの色が変更されます。
文字の一部だけの色を変更することも可能です。
変更したい文字を選択し、フォントの色のアイコンをクリックし、お好きな色を選択します。
これで一部の文字の色が変更されます。
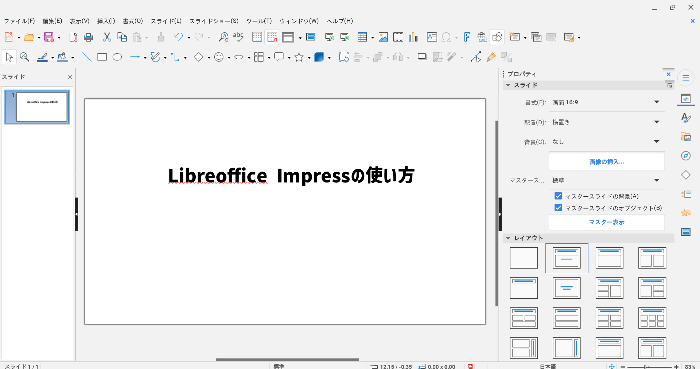
【新しいスライドの挿入】
左側のスライドパネルで新しいスライドを挿入することが出来ます。
もし左側にスライドパネルが表示されていない場合は、ファイルメニューの表示からスライドパインを選択してください。

スライドパネルを右クリックして、新しいスライドを選択します。
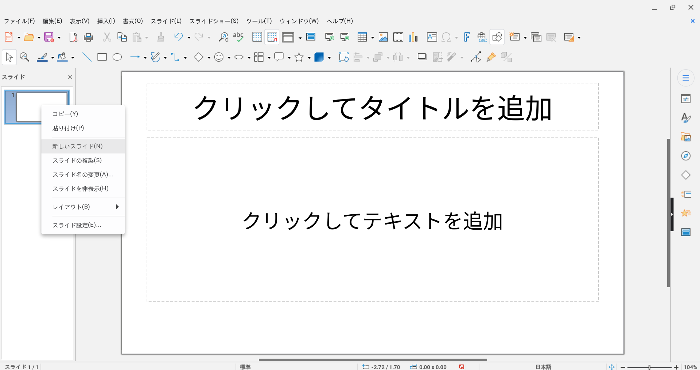
すると新しいスライドが挿入されます。
【スライドの削除】
左側のスライドパネルでスライドを削除することが出来ます。
スライドパネルを右クリックして、スライドの削除を選択します。
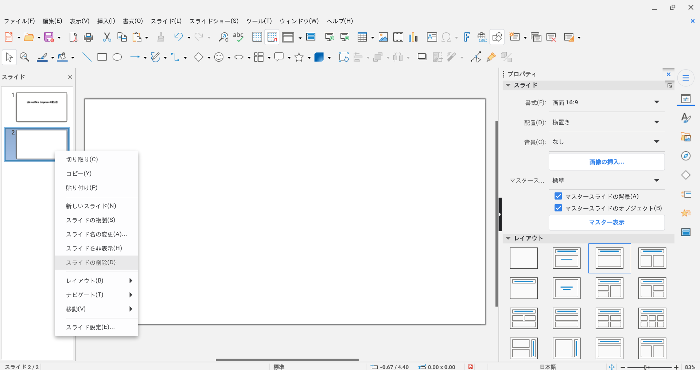
スライドが削除されます。
【スライドの複製】
左側のスライドパネルでスライドを複製することが出来ます。
スライドパネルを右クリックして、スライドの複製を選択します。
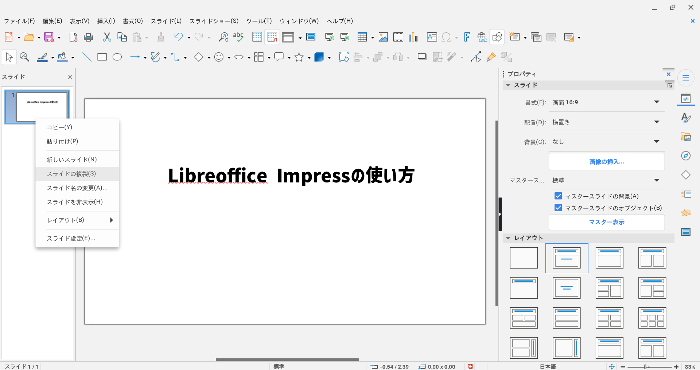
スライドが複製されます。