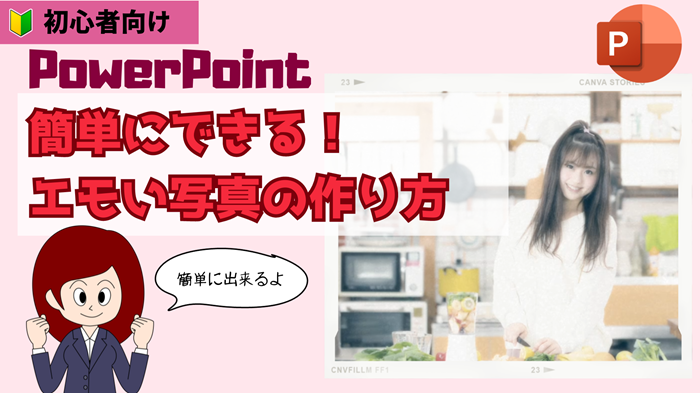
PowerPointでエモい写真
エモい写真とは?
エモい写真というのがあります。感情を刺激する写真のことを言うそうです。
定義を調べてみるとバラバラで、どれが正しいかよく分からないというのが本音です。
一般的には「感情を刺激する写真」がエモい写真らしいです。
エモい写真は仕事で使用する場合がある
エモい写真ですが、主に趣味で使われている感じがありますが、仕事でも使用することがあります。
具体的に言うと、以下の場面で使われるようです。
- ソーシャルメディアの投稿: ソーシャルメディアの投稿にすることで、「製品やサービスの宣伝」、「ブランドイメージの向上」、「フォロワーとのつながり強化」など、人々の注目を集めるのにエモい写真が使われる。
- 広告やマーケティング: 広告やマーケティングキャンペーンで感情を動かし、購買意欲を高めるのにエモい写真が使われる。
- ウェブサイトやブログ: ウェブサイトやブログの訪問者の注意を引き、コンテンツをより魅力的にためにエモい写真が使われる。
- プレゼンテーション: プレゼンテーションで印象を与え、聴衆の興味を維持するためにエモい写真が使われる。
そのエモい写真ですが、PowerPointだけで作ることが出来ます。
今回のブログ記事では、PowerPointでエモい写真を作る方法をご紹介します。
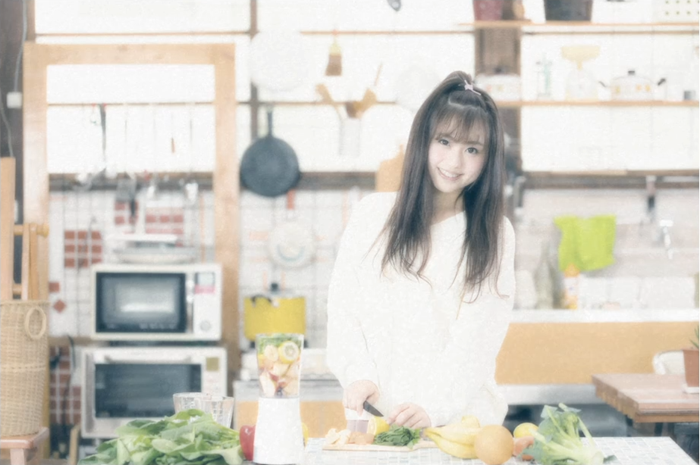
写真ですが、フリー素材サイトのPAKUTASOの「キッチンで朝スムージーを作る女子の無料写真素材」(https://www.pakutaso.com/20180253032post-15055.html)を使用させていただきます。


PowerPointでエモい写真の作り方
1 写真を複製する
写真をCtrlキー+Cで複製します。
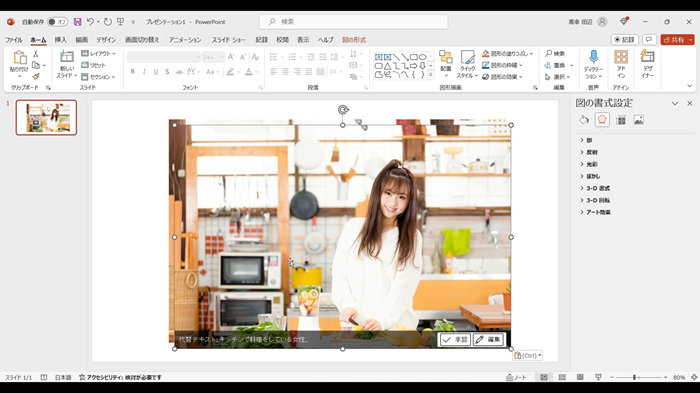
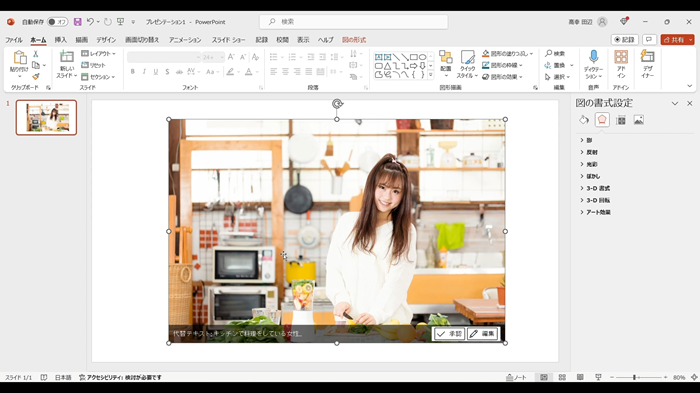
複製した写真を、複製元の上にします。
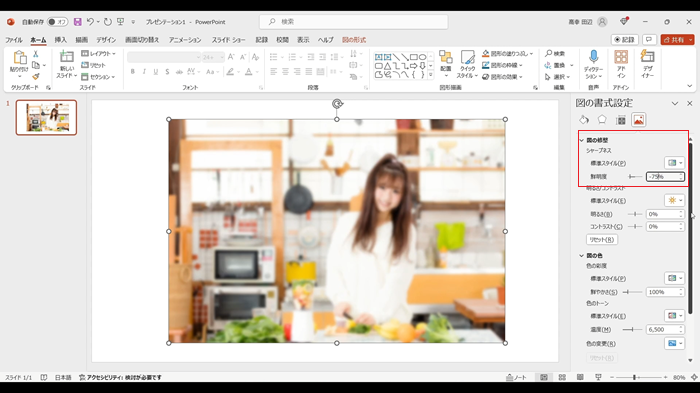
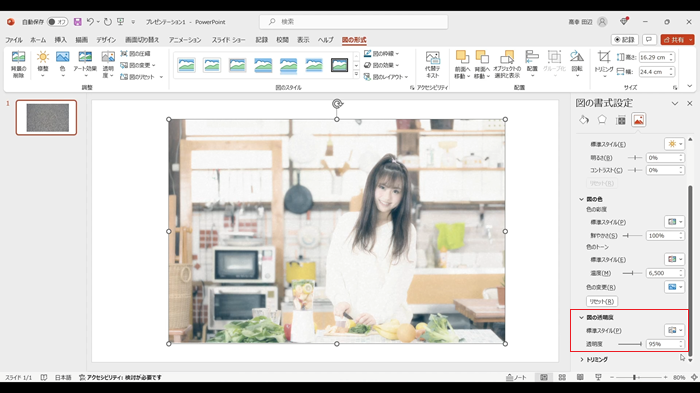
2 図の書式設定
一番右の[図]のアイコンをクリックします。
図の修整の[シャープネス]の数値を-の値にします(私は-75%にしました)。
すると写真がソフトになります。
[明るさ/コントラスト]を、明るさを+の値に、コントラストを-の値にします(私は明るさを20%、コントラストを-10%)にしました。
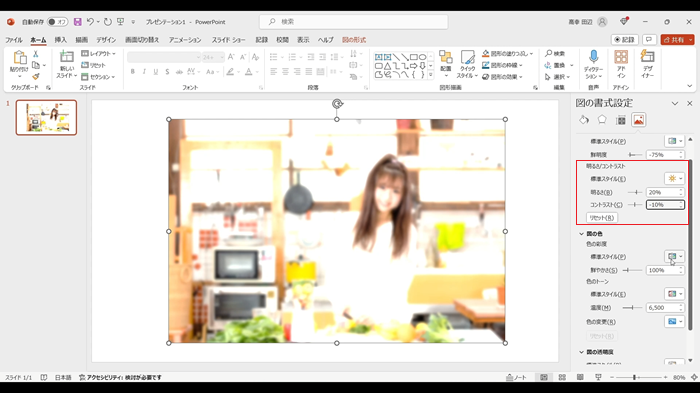
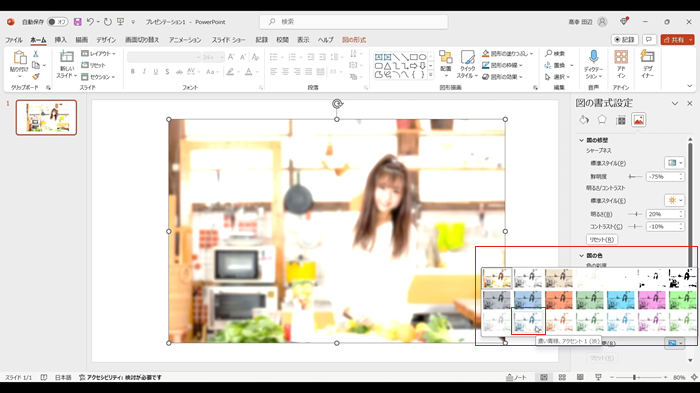
[図の色]を「濃い青緑、アクセント1(淡)」にします。
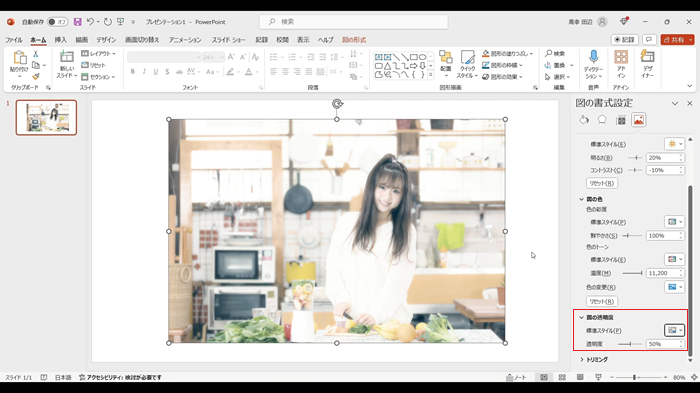
[色のトーン]の標準スタイルを任意にします(私は温度:11200Kにしました)。

[図の透明度]を任意の数値にします(私は50%にしました)。
3 粒子のテクスチャを入れる
フィルム写真っぽさがあると、エモい写真感が増すと思うので粒子のテクスチャを入れます。
私はフリー素材サイトのpixabayの「アスファルト-テクスチャ-街-91821」(https://pixabay.com/ja/photos/%E3%82%A2%E3%82%B9%E3%83%95%E3%82%A1%E3%83%AB%E3%83%88-%E3%83%86%E3%82%AF%E3%82%B9%E3%83%81%E3%83%A3-%E8%A1%97-91821/)を使わせていただきました。
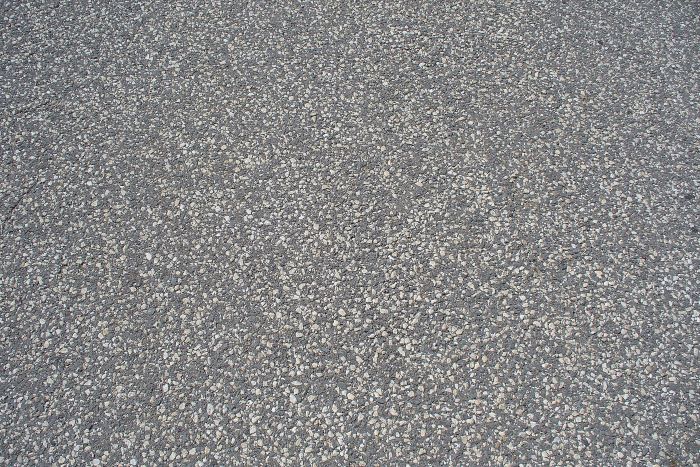
この写真を、下の写真のサイズに合わせます。
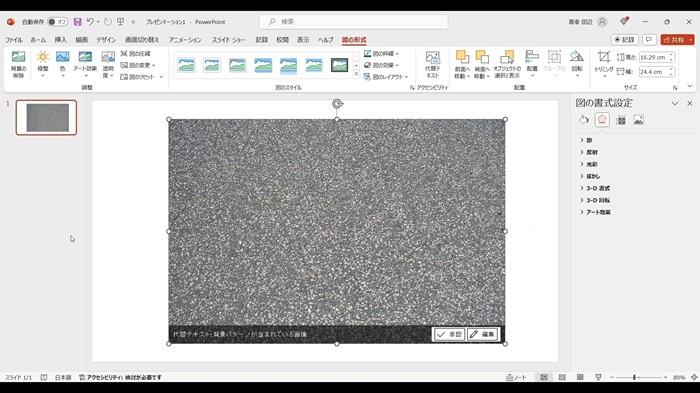
[図の透明度]を任意の数値にします(私は95%にしました)。
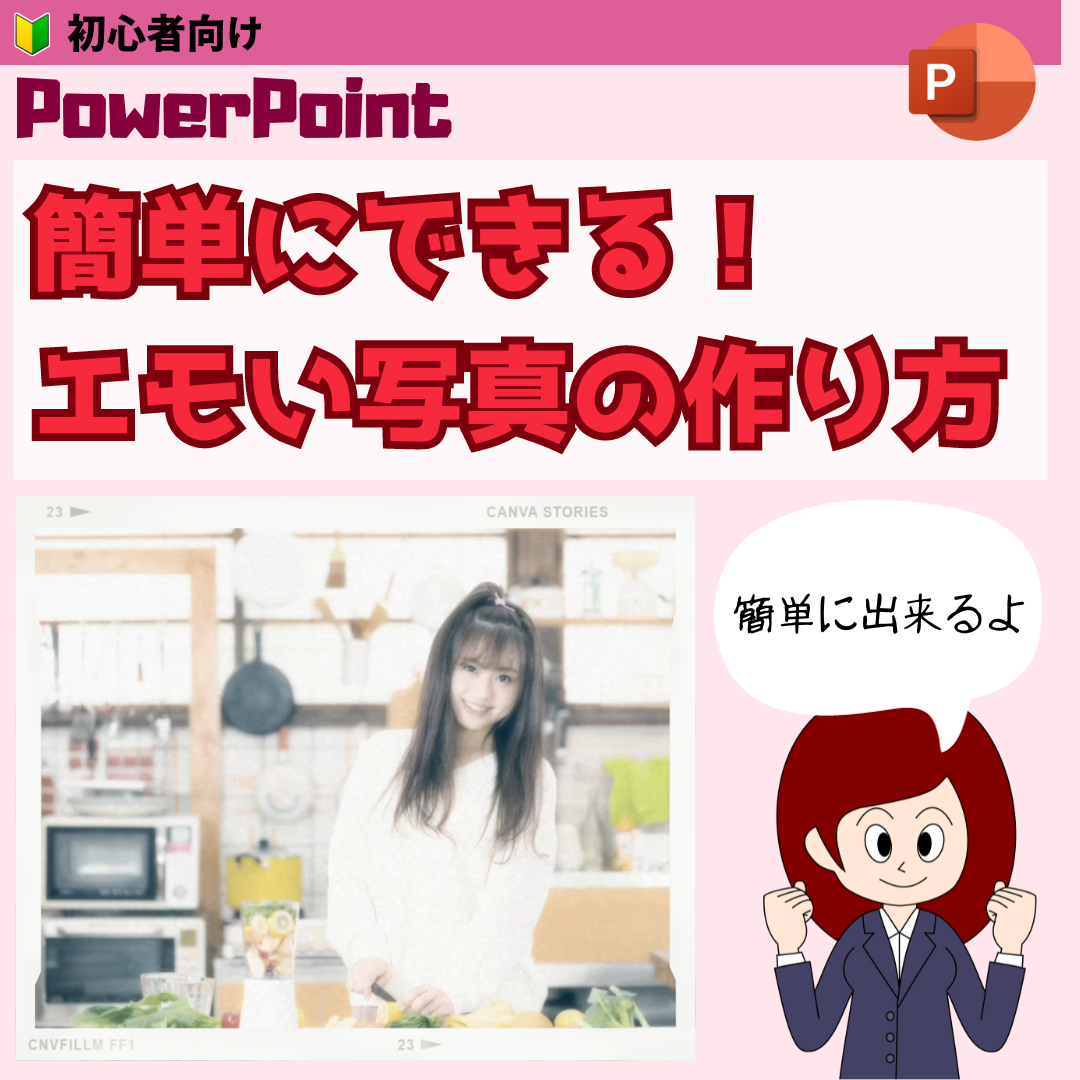
これで完成です。
以下が加工前です。

以下が加工後です。