Adobe IllustratorのデータをPowerPointに読み込む
フリー素材サイトでよく見かけるAI形式とは?
フリー素材サイトを見ると、AIという文字を見かけると思います。
これはAdobe Illustratorのデータ形式のことです。
Adobe Illustratorのデータは、ベクター形式の画像です。
ベクター形式の画像のメリットは、拡大縮小しても画像が劣化しない、線の変形が出来る、線や塗りの色の変更が出来る、そしてデータが非常に軽い点です。
そのメリットがあるため、フリー素材サイトでは、AI形式のものが多く準備されています。
Adobe IllustratorのAI形式はPowerPointで読み込み、編集することが出来る
AI形式の画像は、Adobe Illustratorや、一部のドローソフトで開くことが出来ます。
しかし、私はAdobe Illustratorや、その一部のドローソフトを持っていない、という方がいるでしょう。
また、仕事でよく使うPowerPointで使いたいが、それには、Adobe Illustratorや、一部のドローソフトで開いて、少し修正をいれて、それをJEPGやPNG形式にして入れなければならないので、面倒だという人もいるでしょう。
しかし、実はそんな人のために、Adobe Illustratorや一部のドローソフトなしでも、AI形式のベクター形式の画像を、PowerPointで使うことが出来る技があります。
この技を通してPowerPointで使えるようになったAI形式の画像は、拡大縮小しても画像が劣化することなく、線の変形が出来、線や塗りの色の変更が出来、そしてデータが非常に軽いという状態です。
つまりAdobe Illustratorや一部のドローソフトのように、PowerPointで使えるというわけです。
今回のブログでは、このAdobe IllustratorのAI形式のベクター形式の画像をPowerPointで使用できるようにする方法について書きます。
ブログ記事を書くうえで、一つ断っておきます。これはWindowsしか出来ないということです。
Mac版のPowerPointで試したところ、この技は出来ませんでした。
これは、Microsoftの手抜きではなく、OS上の問題で完全に同じものが作れなかったと思われます。
この記事は、Windowsユーザーのみの内容になります。


Adobe IllustratorのデータをPowerPointに読み込む方法
今回は、Adobe Illustratorをお持ちの方、そうでない方のために、2つに分けてご紹介します。
〈Adobe Illustratorをお持ちの方向け〉
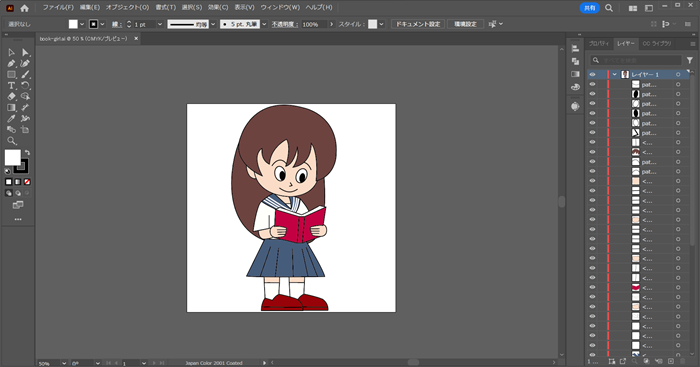
1. Adobe IllustratorでAi形式の画像を開く
PowerPointで使いたい、Adobe IllustratorのAI形式の画像を開きます。
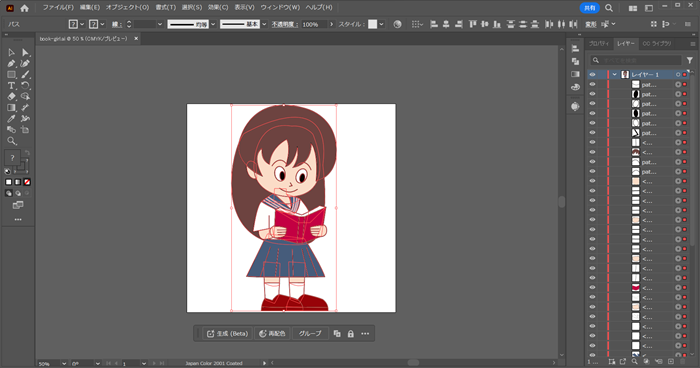
2. データを全てコピーする
Ctrlキー+Aでデータを全選択して、Ctrlキー+Cでコピーします。
3.PowerPointを開く
PowerPointを開きます。
4. データを貼り付ける
Ctrlキー+Vでデータを貼り付けます。
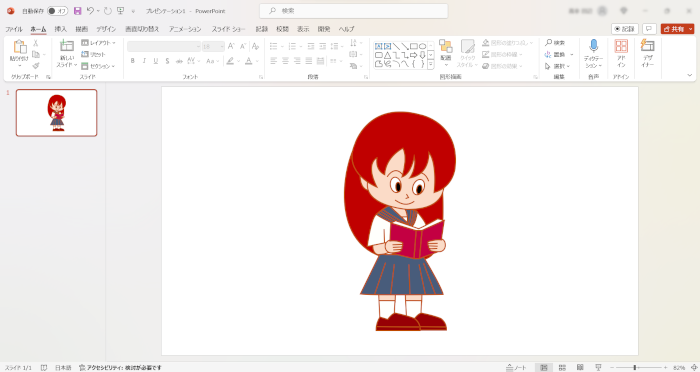
するとAdobe IllustratorのAI形式の画像がPowerPointに貼り付けられます。

5. 貼り付けた画像を図形に変換する
今の状態では、Adobe IllustratorのAI形式の画像で、拡大縮小は出来ても、線の変形や、線や塗りの変形が出来ません。
それを出来るように、Adobe IllustratorのAI形式の画像を、PowerPointで扱えるように図形に変換します。
グラフィック形式のタブの中にある、図形に変換をクリックします。
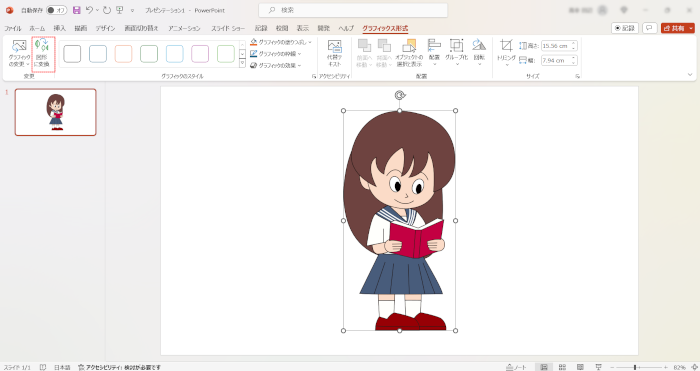
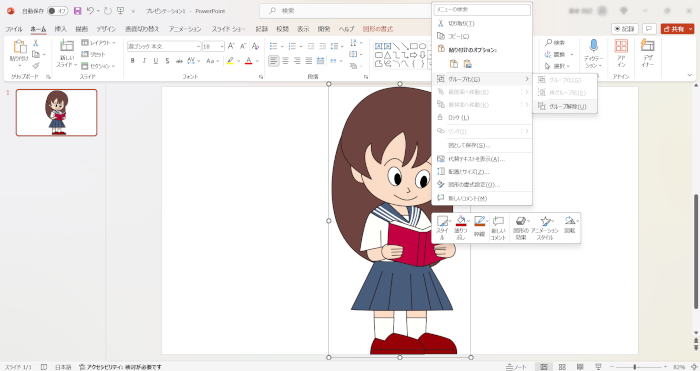
右クリックして、グループを解除します。
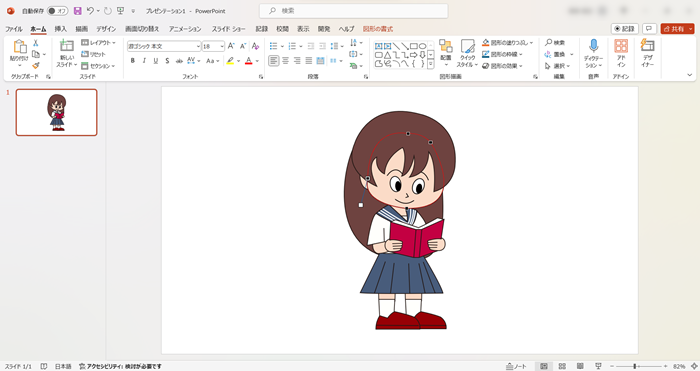
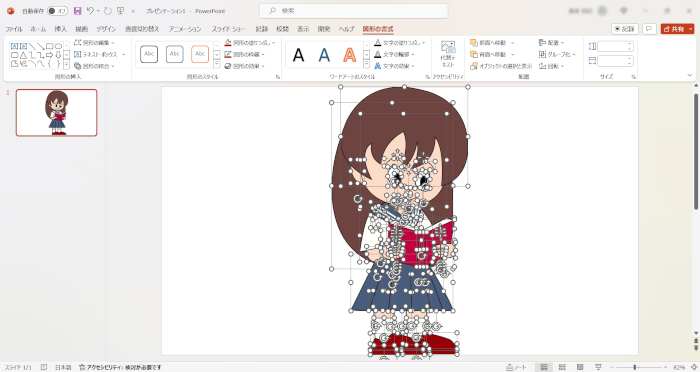
これでAdobe IllustratorのAI形式の画像がPowerPointで使用できるようになります。
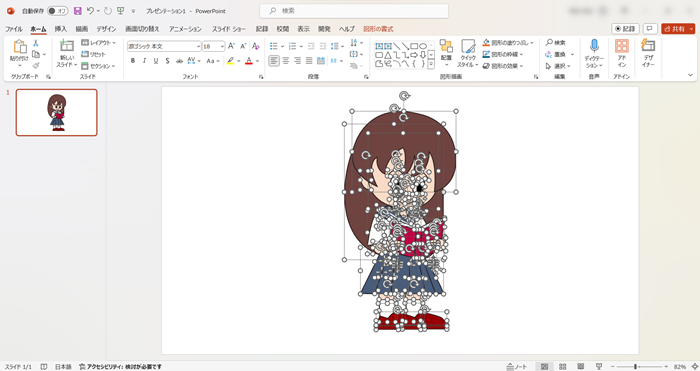
▲このような感じでAdobe IllustratorのAI形式の画像がPowerPointの図形化されます。
例えば、顔を少し変形させたい場合は、顔の部分を右クリックし、頂点の編集を選択します。
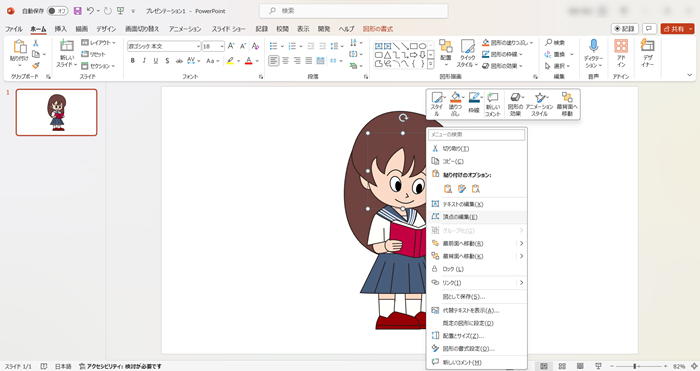
黒い四角をクリックすると線が変形させるためのハンドルが現れます。

ハンドルを動かせば、顔が変形します。
▲このように簡単に変形が出来ます。
髪の毛の色も、髪の毛の部分を選択します。
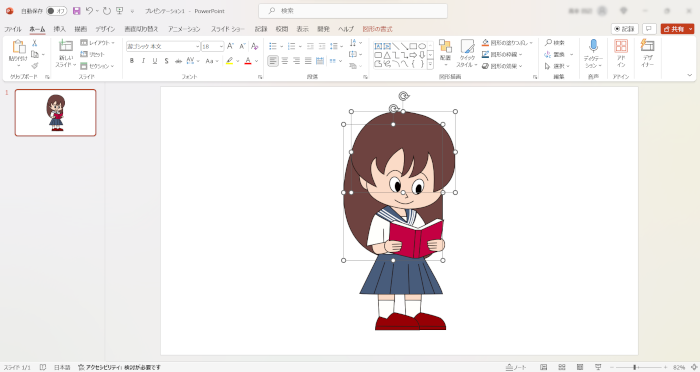
図形の塗りつぶしをクリックして、お好きな色にします。
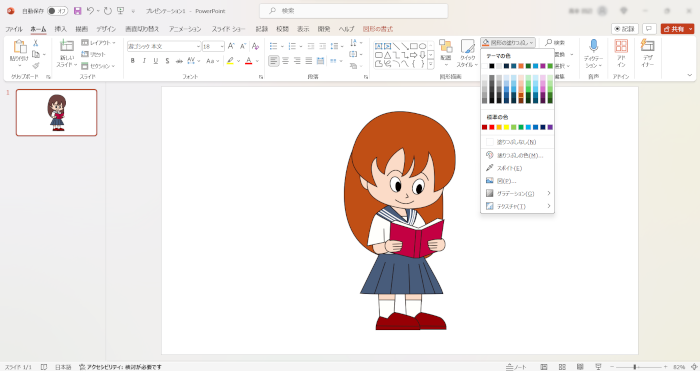
▲このように簡単に塗りの色の変更が出来ます。
全体的な線を太くしたい場合は、図形を全選択します。
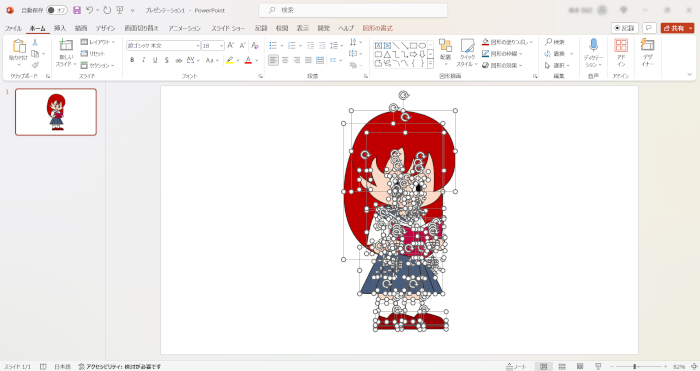
図形の枠線から、お好みの線の太さを選びます。
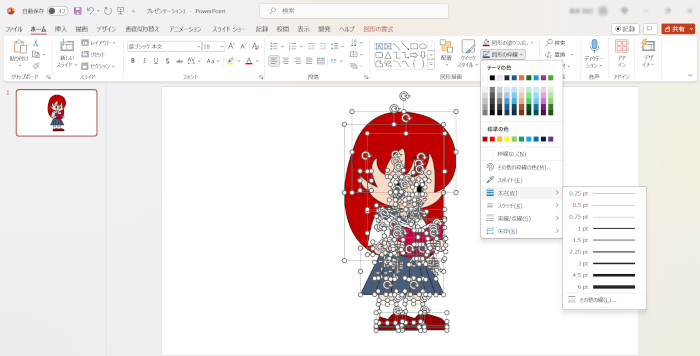
これで線の太さが変えられました。
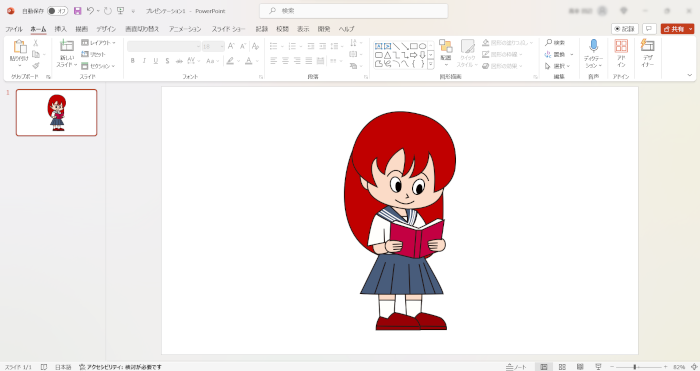
▲このように簡単に塗りの色の変更が出来ます。
線の色も変更できます。
図形を全選択し、図形の枠線から、お好みの色を選びます。
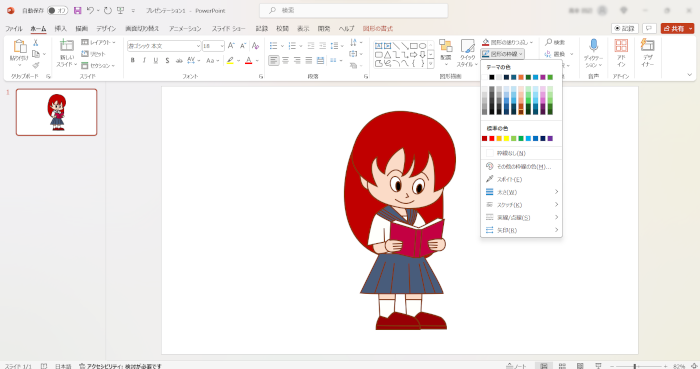
これで線の色が変えられました。
▲このように簡単に線の色の変更が出来ます。
〈Adobe Illustratorをお持ちでない方向け〉
この方法はオープンソースのドローソフトのInkscapeが必要です。
もしInkscapeをお持ちでない方は、以下のサイトからインストーラーをダウンロードして、インストールをしてください。

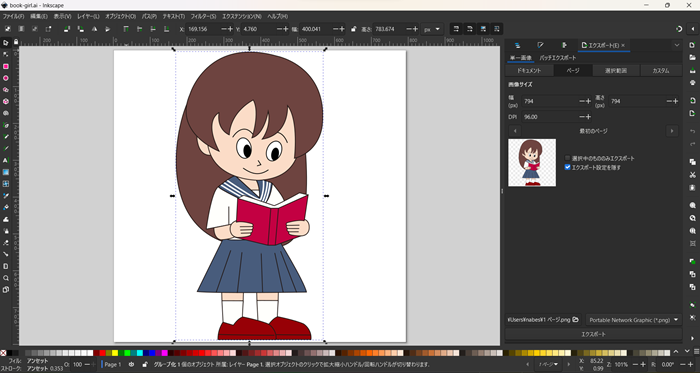
1. InkscapeでAi形式の画像を開く
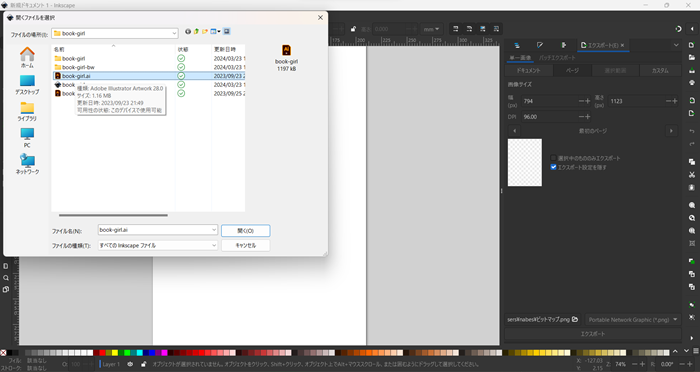
PowerPointで使いたい、Adobe IllustratorのAI形式の画像を開きます。
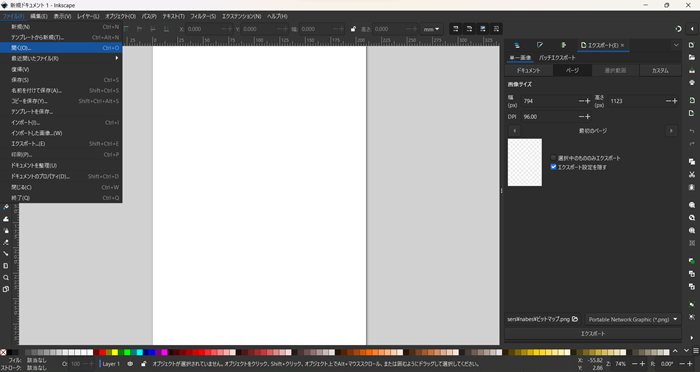
ファイルから開くを選択します。
PowerPointで使いたい、Adobe IllustratorのAI形式の画像に、画像が埋め込まれていない場合は、画像の埋め込みのチェックを外して、OKボタンをクリックします。
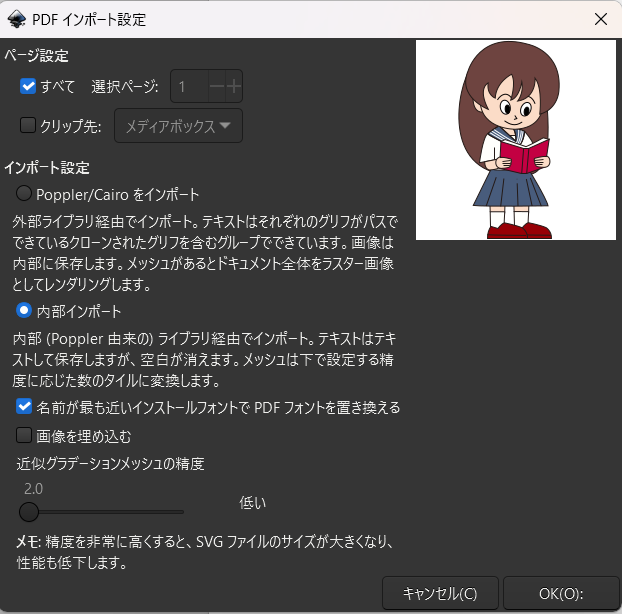
これでInkscapeに、PowerPointで使いたい、Adobe IllustratorのAI形式の画像が開きます。

2. データを全てコピーする
Ctrlキー+Aでデータを全選択して、Ctrlキー+Cでコピーします。
3. PowerPointを開く
PowerPointを開きます。
4. データを貼り付ける
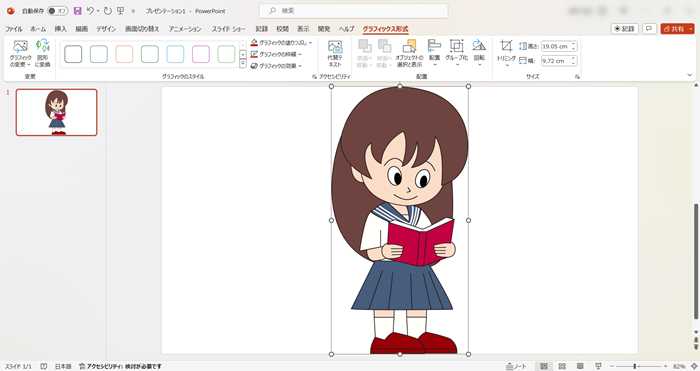
Ctrlキー+Vでデータを貼り付けます。
するとAdobe IllustratorのAI形式の画像がPowerPointに貼り付けられます。
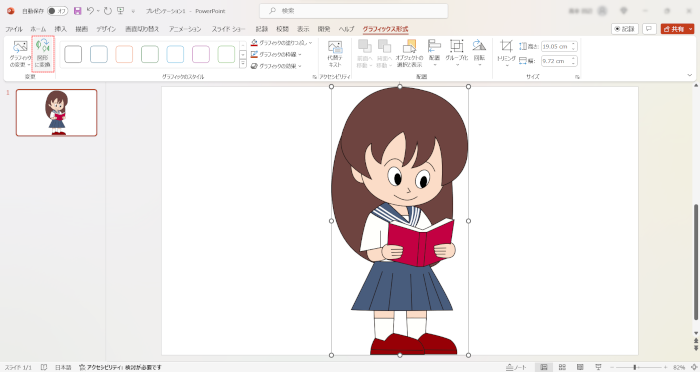
5. 貼り付けた画像を図形に変換する
今の状態では、Adobe IllustratorのAI形式の画像で、拡大縮小は出来ても、線の変形や、線や塗りの変形が出来ません。
それを出来るように、Adobe IllustratorのAI形式の画像を、PowerPointで扱えるように図形に変換します。
グラフィック形式のタブの中にある、図形に変換をクリックします。
右クリックして、グループを解除します。
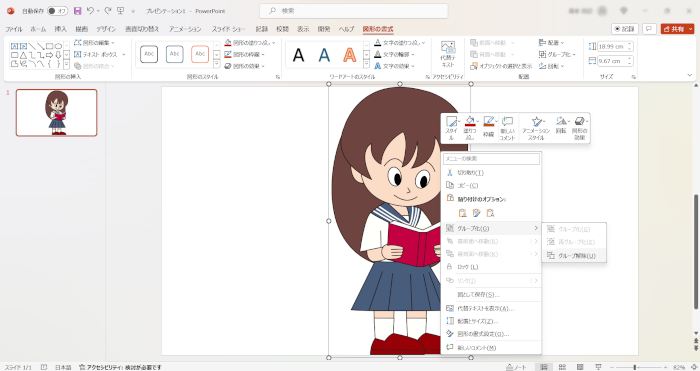
これでAdobe IllustratorのAI形式の画像がPowerPointで使用できるようになります。
▲このような感じでAdobe IllustratorのAI形式の画像がPowerPointの図形化されます。
〈Adobe Illustratorをお持ちの方向け〉の5にように、画像を変形させたり、塗りの色を変更したり、線の太さを変更したり、線の色を変えることが出来ます。
この方法を使うことで、Adobe Illustratorをお持ちの方もAi形式の画像をPowerPointで、画像を変形させたり、塗りの色を変更したり、線の太さを変更したり、線の色を変えることが出来るので、作業効率が高くなると思います。