このPowerPointの使い方の講座を読むと、きれいな袋文字が作れるようになります
【PowerPointの使い方】PowerPointできれいな袋文字を作る
袋文字という文字装飾があります。
袋文字とは、簡単にいうと文字の外側に輪郭線がある文字のことを言います。
写真の上に文字を配置したが、似たような色のため文字が見えない等のときに使うと、文字がくっきりとなり、文字が見やすくなります。
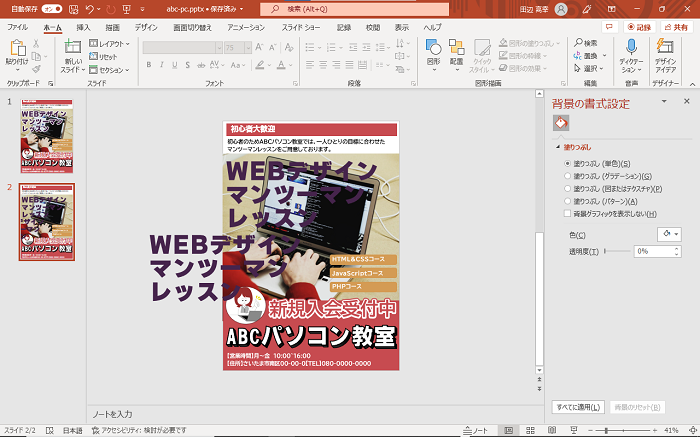
袋文字がないと以下のように、非常に見にくくなります。
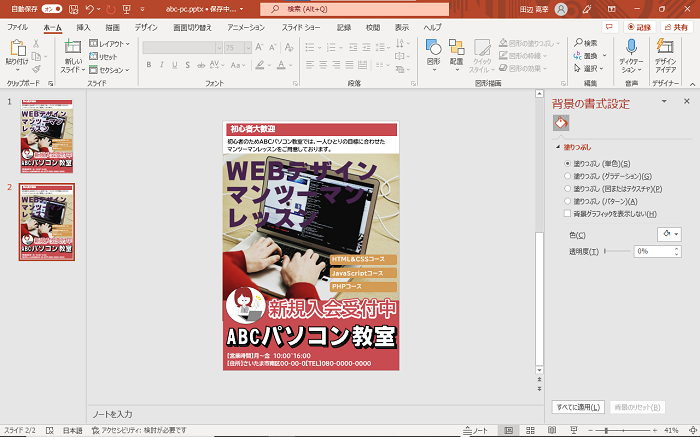
これでは全く見えないですネ
袋文字ですが、PowerPointの標準機能である、図形の書式タブの文字のオプションの文字の輪郭から作ることが出来ますが、太くすればするほど文字が潰れて読みにくなります。
う~ん、これじゃきれいさにも欠けますネ
PowerPointでは、この文字の輪郭を使わないで、きれいな袋文字を作る方法があります。
PowerPointでチラシなどを作ることが多いので、知りたいですネ
今回の講座では、PowerPointできれいな袋文字を作る方法をご紹介します。
筆者は基本的に使い慣れているためか、通常はMacを使用していますが、今回はWindowを使用してご説明します。
最近はMacを使う人も多くはなってきていますが、大多数の人はWindowを使用していると思うので、その方が分かりやすいと思ったからです。


【【PowerPointの使い方】PowerPointできれいな袋文字を作る方法
①袋文字にしたい文字を複製する
袋文字にしたい文字を複製をします。
Ctrlキー+CのショートカットキーかCtrlキーを押しながら任意の場所にドラッグすると簡単に複製が出来ます。
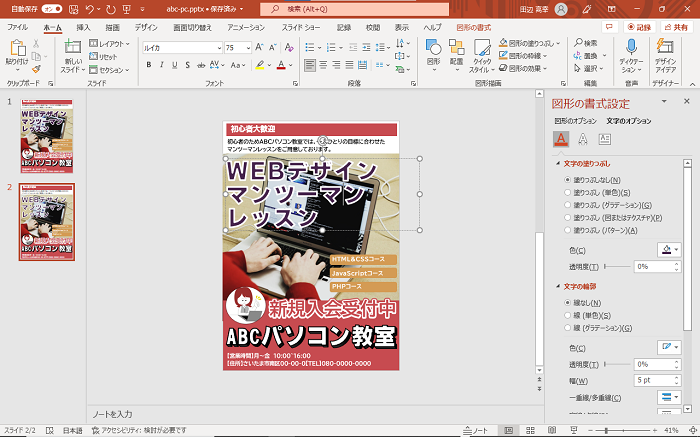
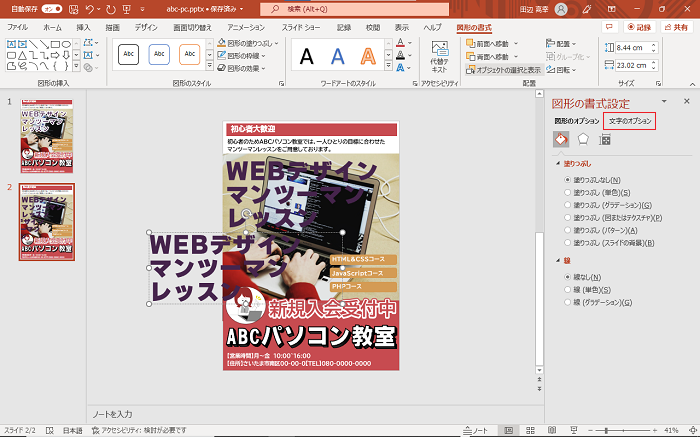
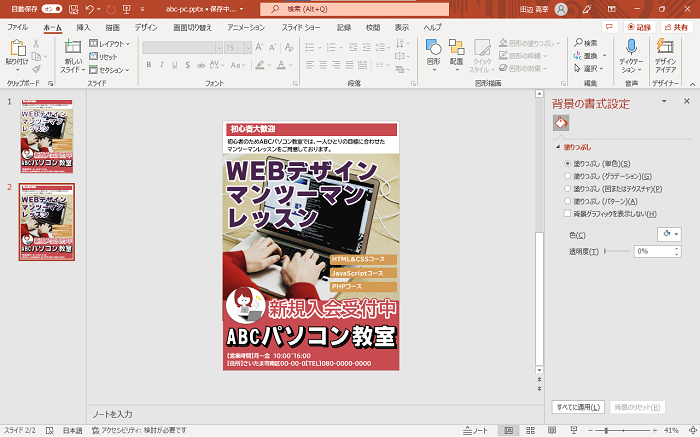
②複製した文字の塗りつぶしの色と、文字の輪郭の線(単色)の色と幅を設定する
複製した文字を選択します。
すると図形の書式タブのが現れるので、それをクリックします。

右側に図形の書式設定が現れるので、その文字のオプションをクリックします。
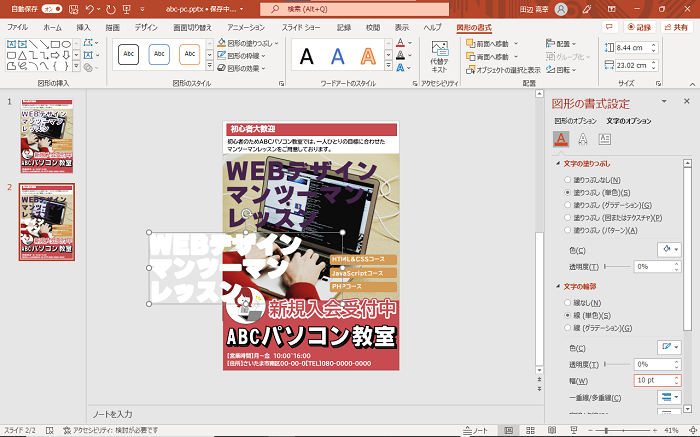
文字の塗りつぶしの色と、文字の輪郭の線(単色)の色と幅をそれぞれお好きな設定にします
私は今回、文字の塗りつぶしを白、文字の輪郭の線(単色)の色を白にして幅を10ptにしました。
③設定した文字を複製した元の文字上に配置する
文字の塗りつぶしの色と、文字の輪郭の線(単色)の色と幅をそれぞれお好きな設定した文字を選択しドラッグして、複製した元の文字の上に配置します。
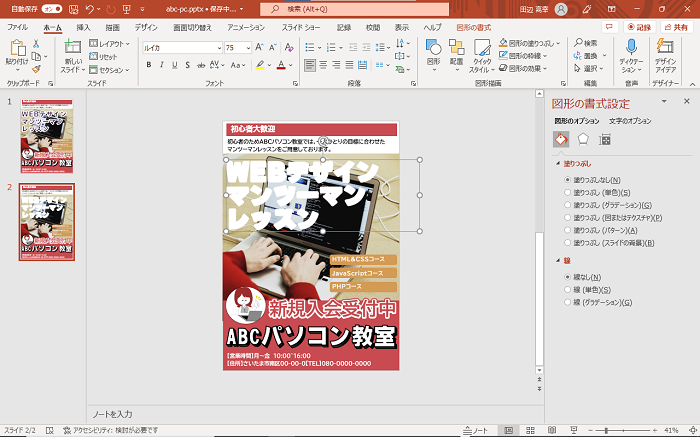
右クリックして、最背面へ移動→背面へ移動を選択します
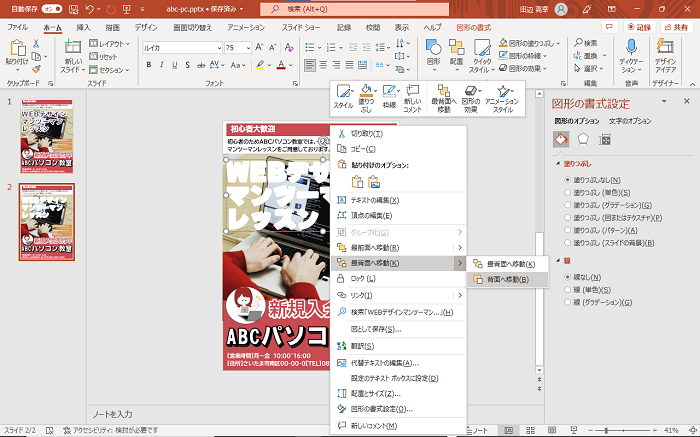
これで袋文字が完成します。
※もし上手くいかない場合は、何度か背面へ移動を繰り返して下さい。
文字や図形や画像の配置順の問題で、背面へ移動だけでは上手くいかないことがあります。
背面へ移動を繰り返すことで袋文字が作れます。
コメント